In this guide we’re going to look at setting up your Microsoft Outlook 365 account so you can add your emails directly into the appropriate Hoowla case.
The first part of the set up is completed on Microsoft’s website. You will need to have your email address and password to hand.
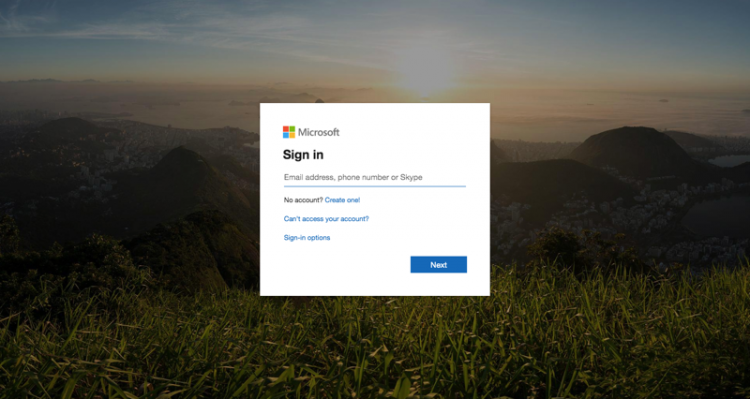
Step 1) Login to your Outlook 365 Account
Click here to login to your account on the Microsoft website. When prompted enter your email address and password and click the Sign In button.
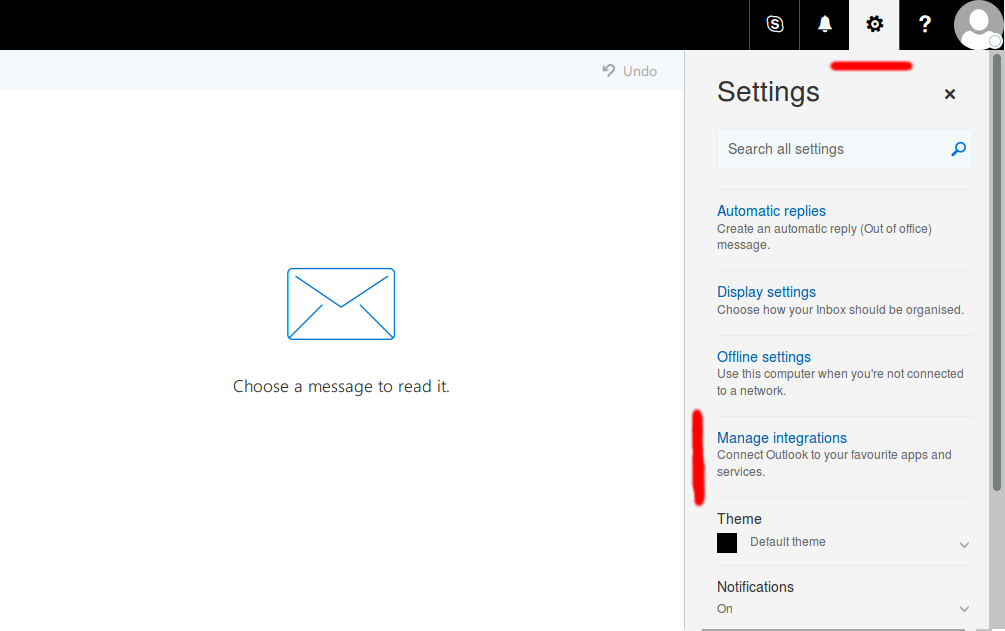
Step 2) Click the Settings Button & Go to ‘Manage Integrations’
Step 3) Click ‘Click here to add a custom add-in’ & Choose ‘Add from URL…’
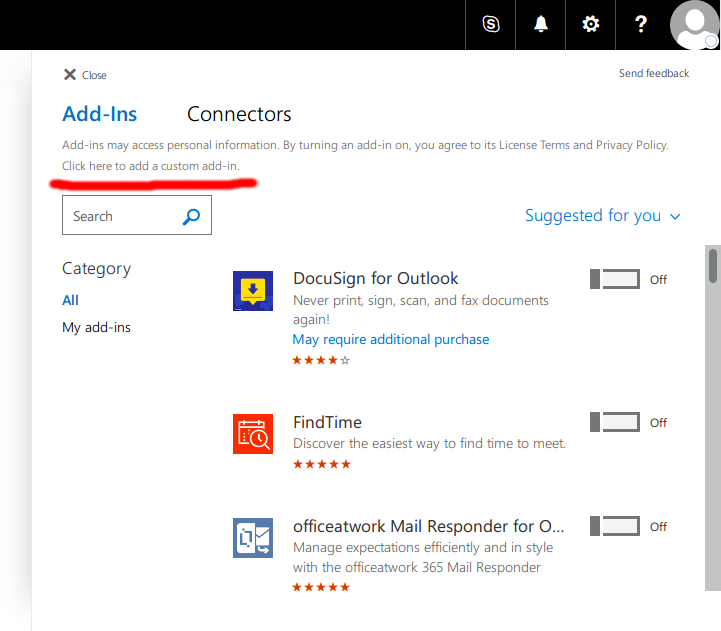
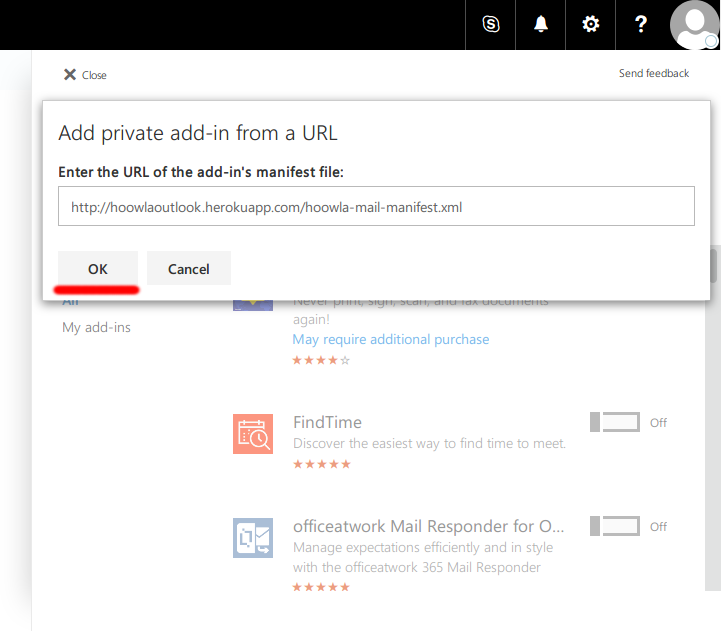
Step 4) Paste in the URL
You’ll want to paste in this url into the text input:
http://hoowlaoutlook.herokuapp.com/hoowla-mail-manifest.xml
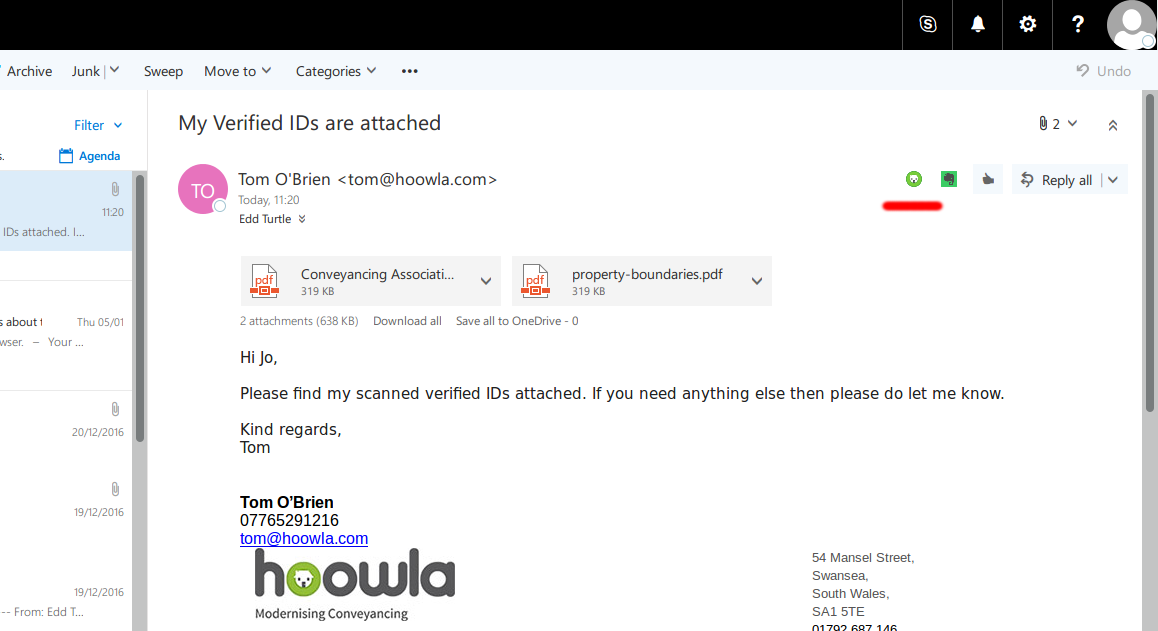
Step 5.1) Verify the Install by Opening an Email and Clicking the Hoowla Logo
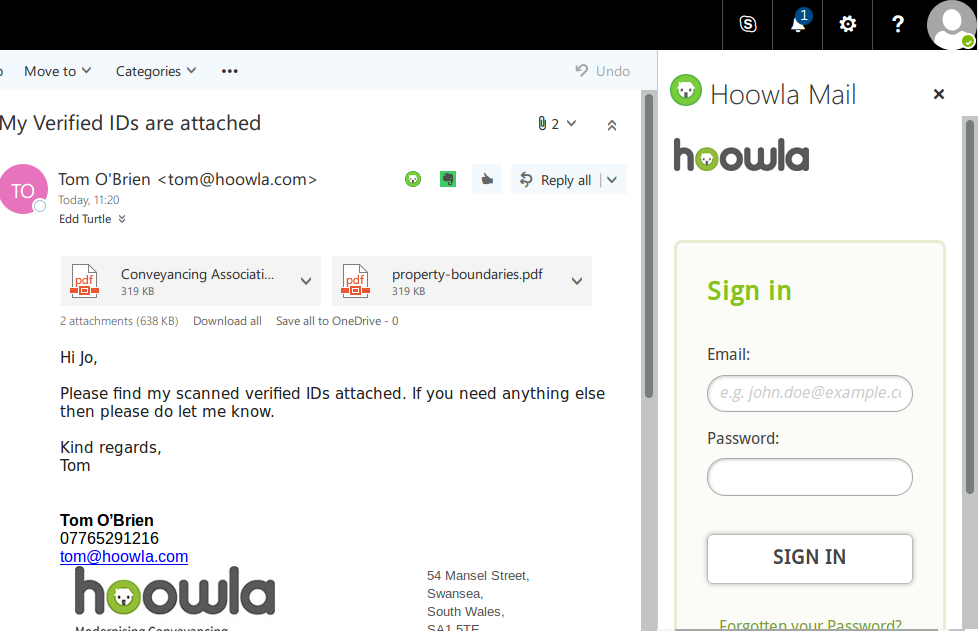
5.2) Sign into your Hoowla account (if you’re not already logged in)
Step 5.3) Choose the Client Case to add your Email to by clicking the appropriate row.
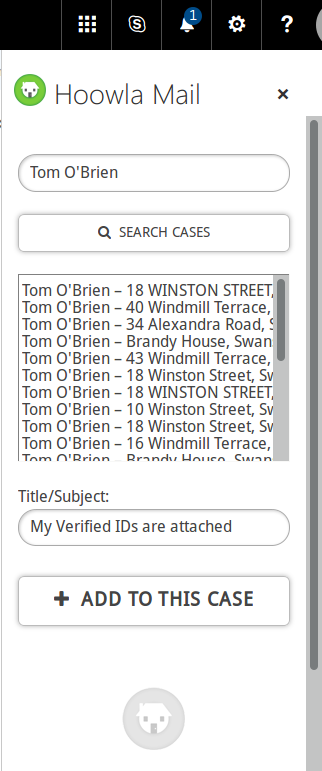
Step 5.4) You should see your document having been added fully.