Sometimes you may need to add or remove a workflow from a case you are working on.
This guide shows you How to remove a workflow and How to add a workflow.
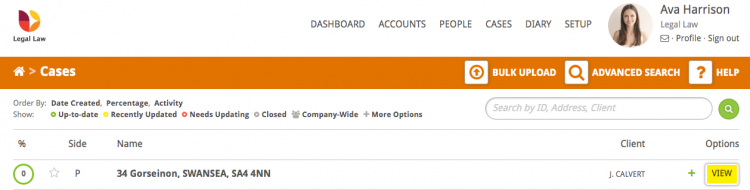
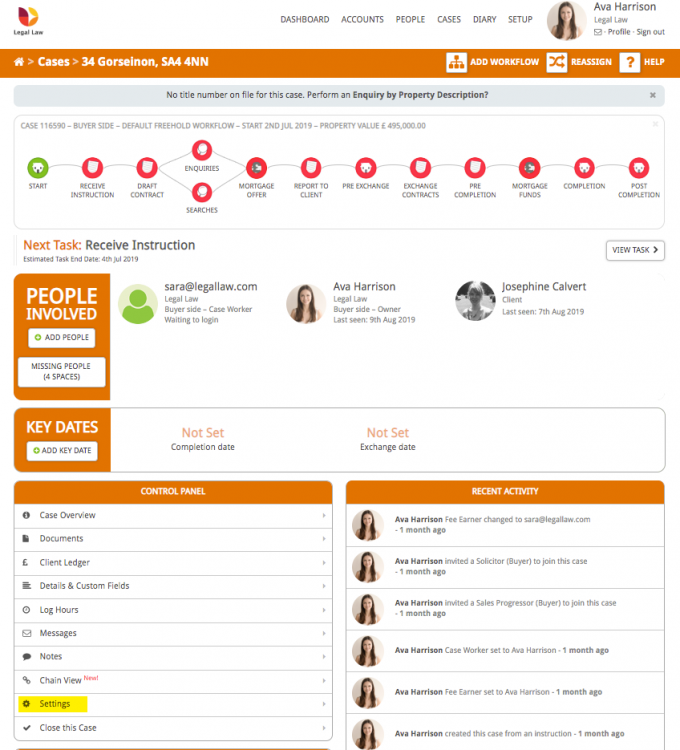
First, go to the case in question by clicking the Cases link next to your name.

Open the case you wish to add or remove a workflow by either clicking on the case address or the View button.
How to remove a workflow
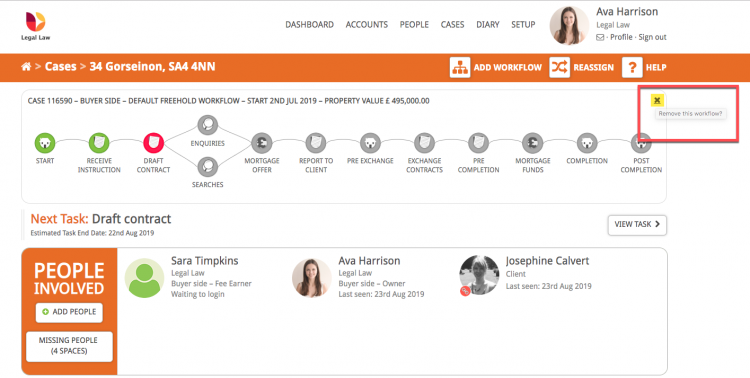
To remove a workflow from a case click the grey X in the top right corner.
Note: If you can’t see the X then you might not have the correct permissions to remove it. Please call us on 01792 687146 and we can help.
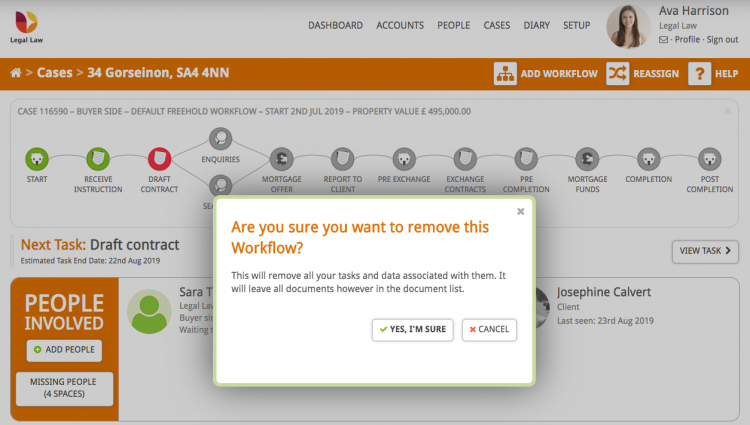
Hoowla will ask you to confirm that you want to remove the workflow. To confirm click Yes, I’m sure.
How to add a workflow to a case
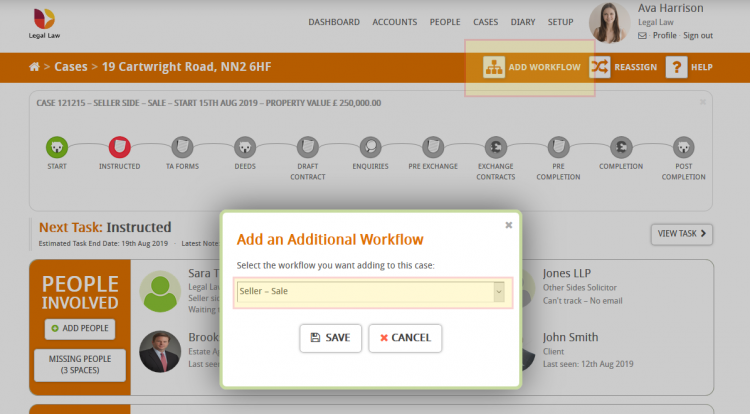
To add a workflow to a case click the Add Workflow button. Select the workflow you wish to add from the drop down in the pop up and press Save.
The workflow I want to add isn’t in the list
If you can’t see the workflow that you wish to add in the drop down it might be that the case has been set to the incorrect type of law.
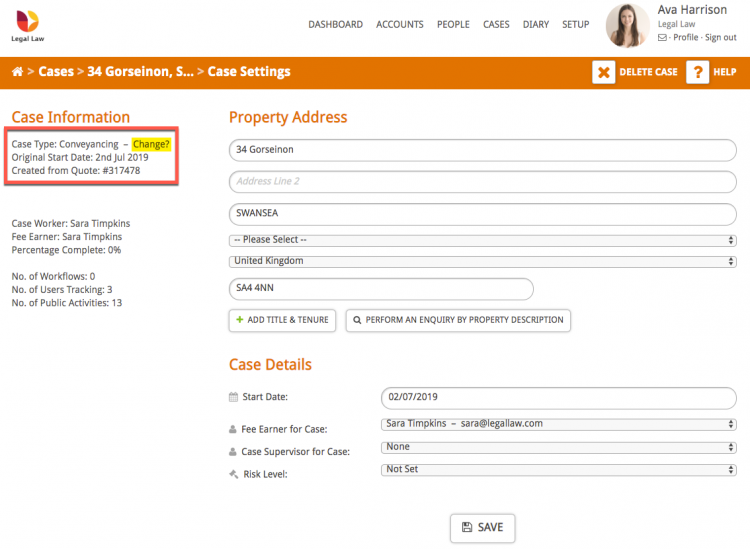
You can change this by going to Settings in the Control Panel on the left hand-side of the case overview page.
On the Case Settings page, under Case Information, it will show the Case Type. Click on the Change? link to change the case type if required (remember to remove the workflow first).
Important note: When you remove a workflow from a case the documents linked to that workflow will remain in the case. If you have documents in the case which you no longer need then you can visit ‘Documents’ in the Control Panel and remove them by clicking the ‘Delete’ button next to that document.