This guide will focus on entering your Company Accounts Information into Hoowla.
Adding your Company Accounts Information in Hoowla
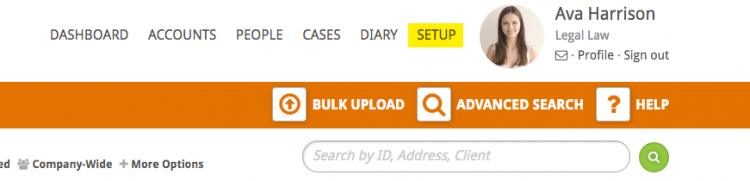
Click the Setup link next to your name
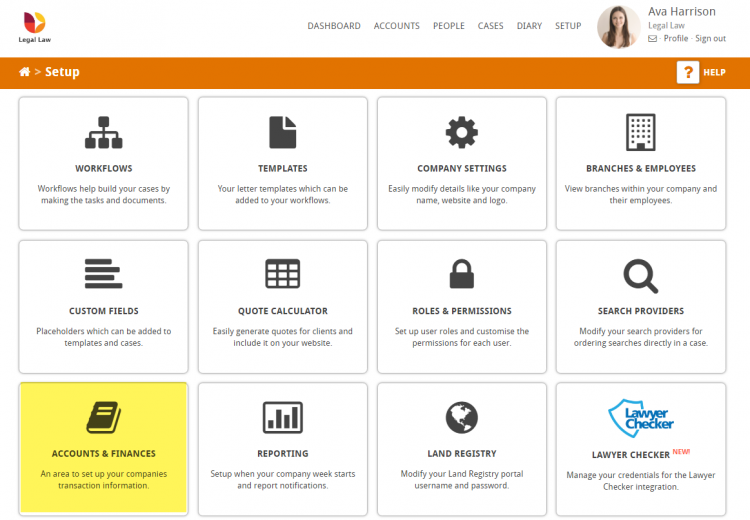
Click the Accounts and Finance box
Select the Company Accounts Information box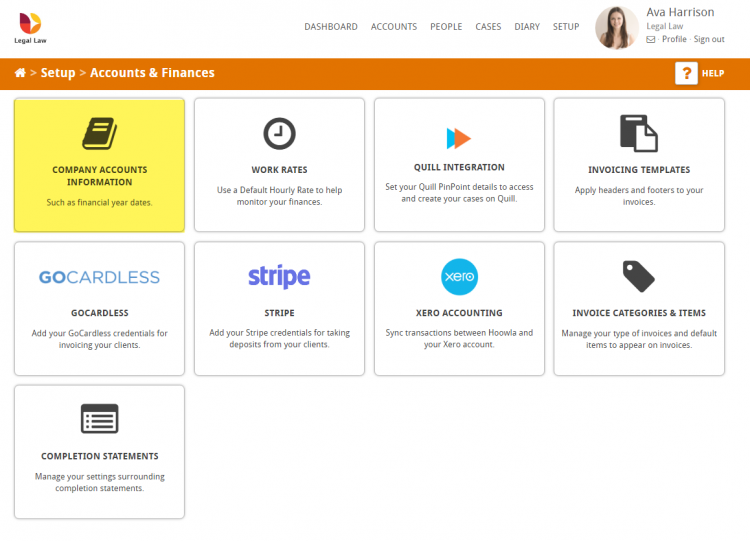
You will then be presented with the Company Accounts Information page as shown below
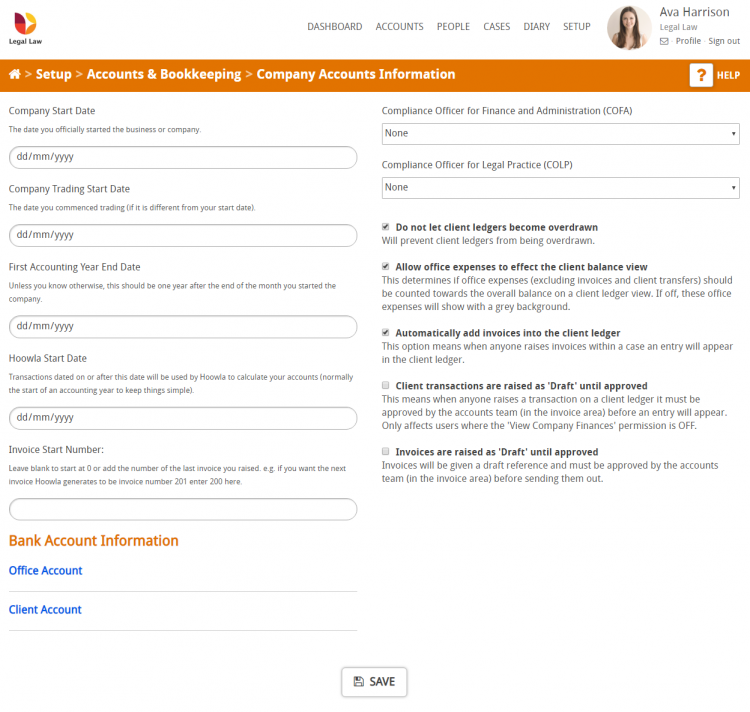
Below we will go into each of the twelve areas in detail
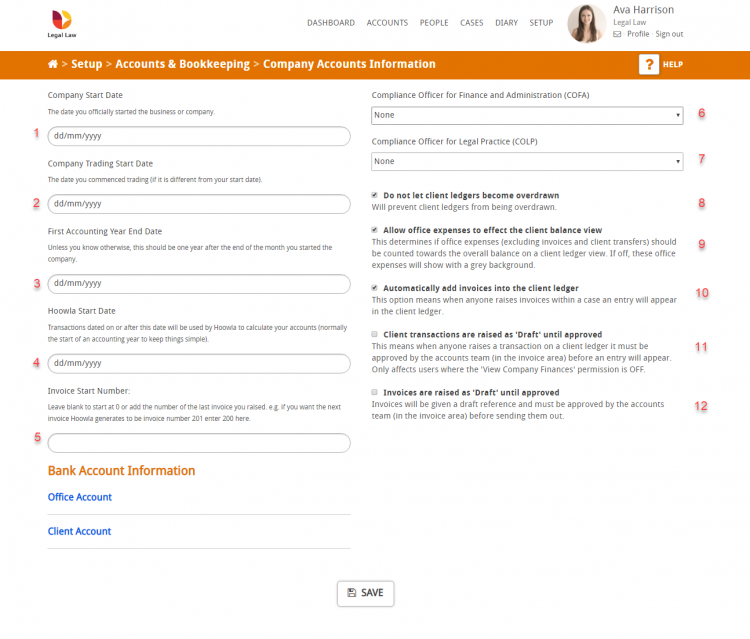
- Company Start Date – The date you officially started the business or company.
- Company Trading Start Date – The date you commenced trading (if it is different from your start date).
- First Accounting Year End Date – Unless you know otherwise, this should be one year after the end of the month you started the company.
- Hoowla Start Date – Transactions dated on or after this date will be used by Hoowla to calculate your accounts (normally the start of an accounting year to keep things simple).
- Invoice Start Number: Leave blank to start at 0, or add the number of the last invoice you raised. e.g. if you want the next invoice Hoowla generates to be invoice number 201 enter 200 here.
- Compliance Officer for Finance and Administration (COFA) use the drop down to select the office COFA
- Compliance Officer for Legal Practice (COLP) – use the drop down to select the office COLP
- Do not let client ledgers become overdrawn – this tick box will prevent client ledgers from being overdrawn.
- Allow office expenses to affect the client balance view – This determines if office expenses (excluding invoices and client transfers) should be counted towards the overall balance on a client ledger view. If off, these office expenses will show with a grey background.
- Automatically add invoices into the client ledger – This option means when anyone raises invoices within a case an entry will appear in the client ledger.
- Client transactions are raised as ‘Draft’ until approved – This means when anyone raises a transaction on a client ledger it must be approved by the accounts team (in the invoice area) before an entry will appear. Only affects users where the ‘View Company Finances’ permission is OFF.
- Invoices are raised as ‘Draft’ until approved – Invoices will be given a draft reference and must be approved by the accounts team (in the invoice area) before sending them out.
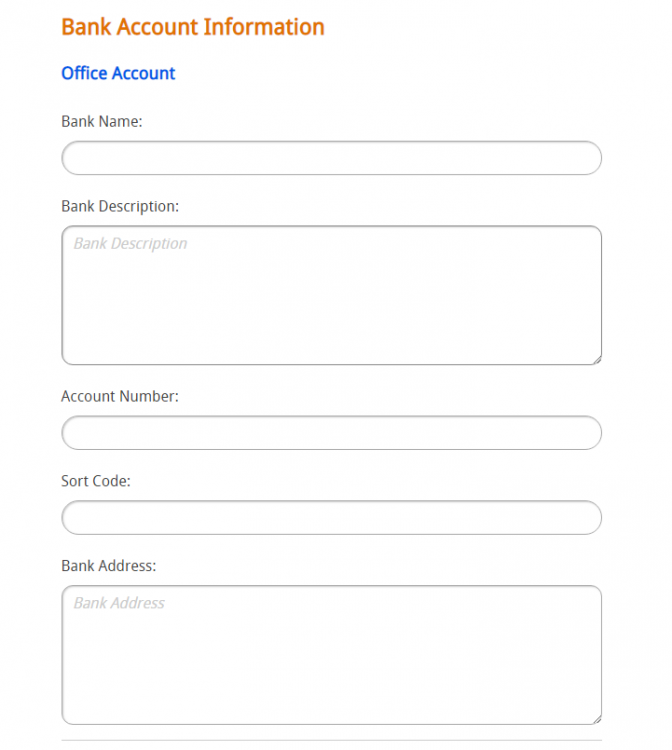
At the bottom of the page you will find the Bank Account Information section. Here you can enter your office account details and client account details. Click on each to expand, as can be seen below:
When you are happy with the information you have entered press the Save button. The information entered on this page will assist in other areas of the system, such as generating invoices and risk assessments.