This guide explains how to use Folders within the Documents section of a case in order to keep documents within that case organised and easy to find.
Accessing Documents within a Case
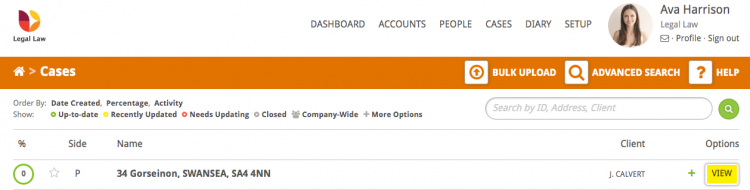
Click the Cases link next to your name.

Select the Case you would like to view the documents for by clicking the case name or the View button.
Select Documents from the Control Panel on the lefthand side.
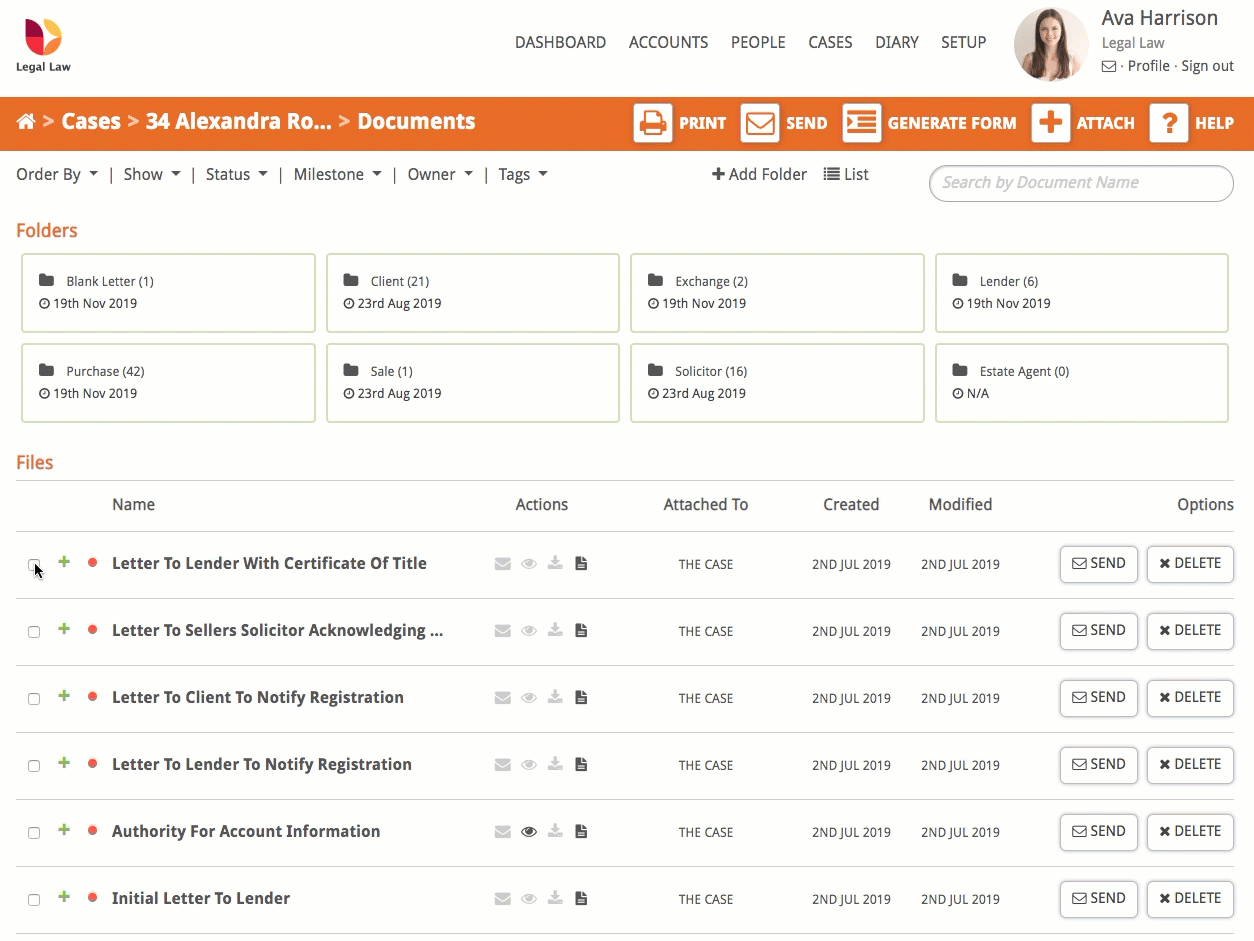
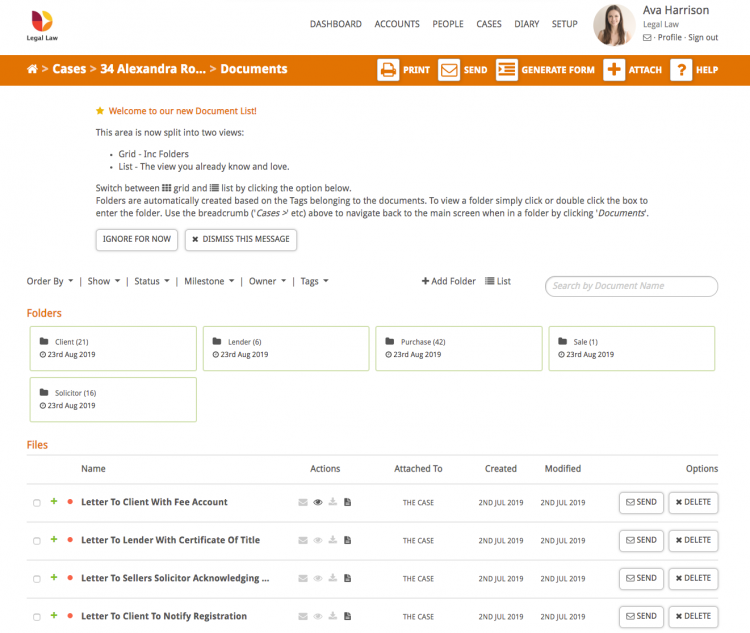
By default the view type for your documents is the Folder view. Documents are added to folders automatically based on the tags assigned to them. You can also manually create a folder and add documents to it.
Add tags to documents to add them to a folder
This shows how to add a tag to a document to add it to a folder. Hoowla will then add the document to the folder with that tag name.
If you have added a new tag, Hoowla will automatically generate a folder with the same name and add the document to it (in the example below, it has created a folder called ‘Exchange’).
- Select the document to which you would like to add the tag.
- Click the Edit button in the top bar
- Click the +New next to TAGS on the lefthand side (some documents may already have tags)
- Select from the Popular Tags list, or use the text box. Click the Add button.
- Click the Save & Close button.
- Return to your documents overview by clicking Documents in the breadcrumb.
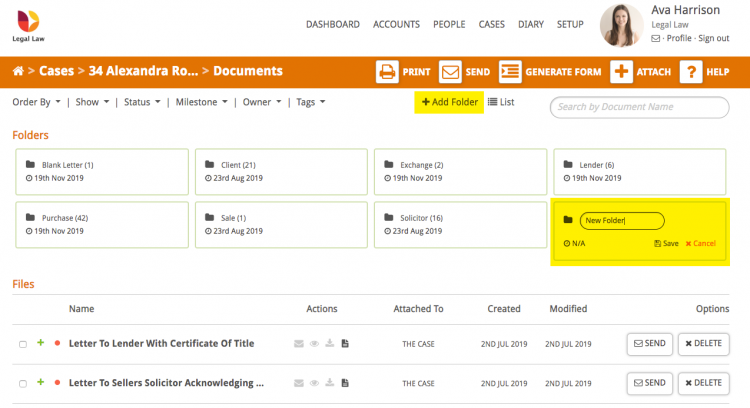
Adding a new folder
To add a new folder simply click the + Add Folder link at the top of the page. This adds a new folder at the end of the list. Use the text box to rename it and click Save.
Add documents to folders from the file list
If you want to organise a lot of documents quickly use the tick box next to the documents to add them to a folder.
- Tick the box next to the documents
- Click the + Add to Folder
- Select the Folder from the list, or enter your own (this will generate a new folder if it doesn’t already exist).
- Click Confirm.