This guide will look at creating a journal entry in Hoowla.
When it comes to journal entries, Isaac Newton had the right Idea with his third law of motion: ‘for every action there is an equal and opposite reaction’. The same can be said for journal entries – whenever a transaction is made within your accounts it should show on at least two nominals; one with a credit and one with a debit, which will balance out the figure.
Below we will look into this in more detail.
How to create a journal entry
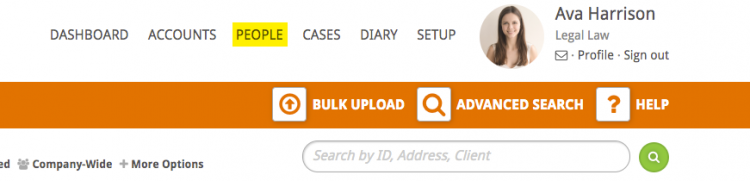
Click the People link next to your name
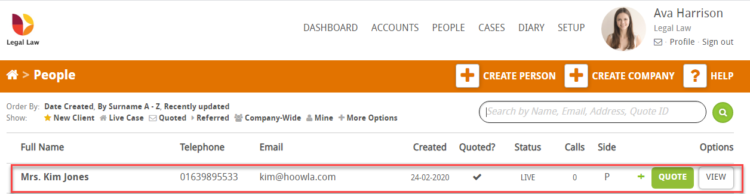
Select the person in question by clicking on their name or the ‘View’ button
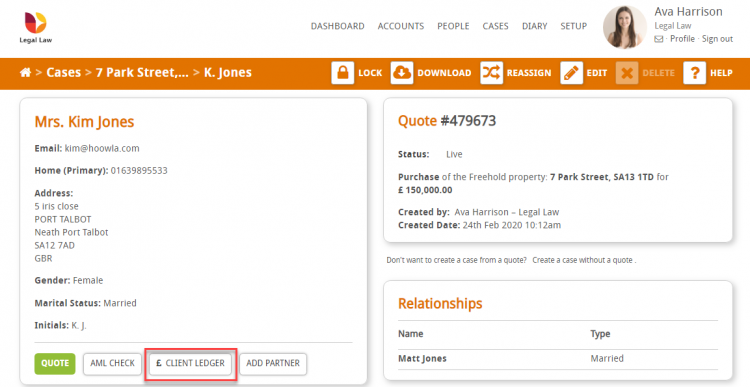
Click the Client Ledger button in the box on the left hand-side
Click Journal Entry next to the search bar

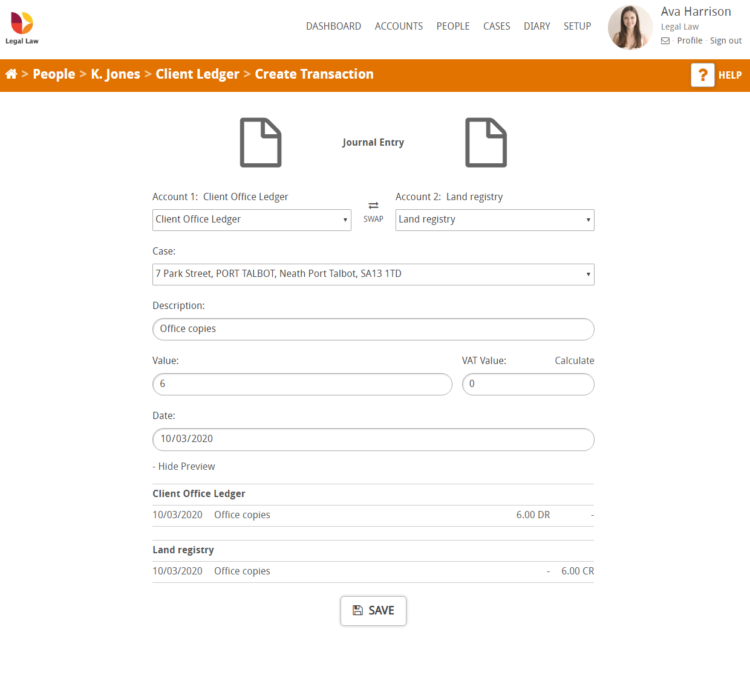
You will then be presented with the following screen:

Below we will discuss each section in detail
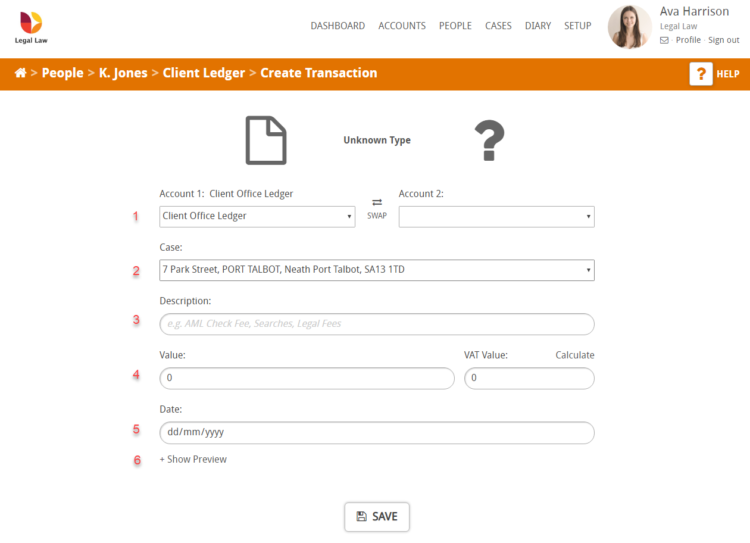
- In this row you are required to select the two accounts required to complete the journal entry. You will see that client office ledger has already been selected in ‘Account 1’.
- The case will automatically be added for you, but if the client has multiple cases you can use the drop down to select the correct case
- In the description add text to describe the reason for the journal entry
- Add the value of the journal entry. Note: if VAT is required you can press the calculate button to generate the VAT Value
- Enter the date of the journal entry
- ‘Show Preview’ allows you to see what the transaction will look like when saved
Below you will see an example of a completed journal entry form where we have created a journal entry for a Land registry fee for Office copies
When you are happy with the information you have entered press the Save button and a green notification bar will show on the screen indicating that your transaction entry has been successfully created.
You will also see a new line in the client ledger indicating the Journal entry as an office expense (DR).
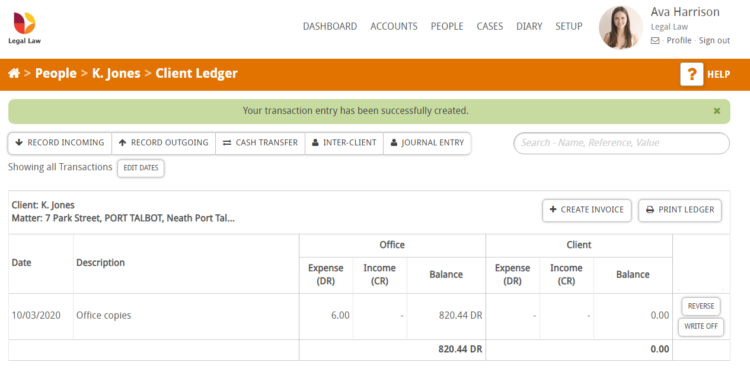
The entry will also show on the Land Registry nominal as an income (CR)
