This guide will look at adding additional invoice categories and items in your Hoowla account. These allow you to choose the type of invoice you are sending to a client and easily search for them in your ‘Invoices – Current Point in Time’ report.
Important note: New invoice items will only show on new cases. If a case has had an invoice already generated the new item will not show and will need to be added manually. Click here to jump to the part of the guide that explains how to add an additional item to an invoice.
To see how to generate an invoice please read this guide: How to Generate an Invoice in Hoowla
How to set up invoice categories
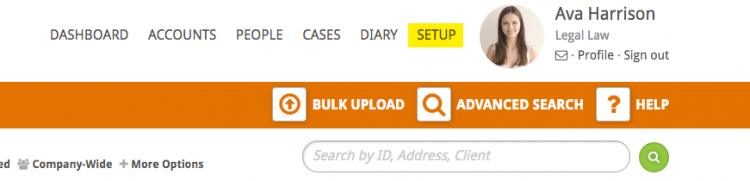
Click the Setup link next to your name
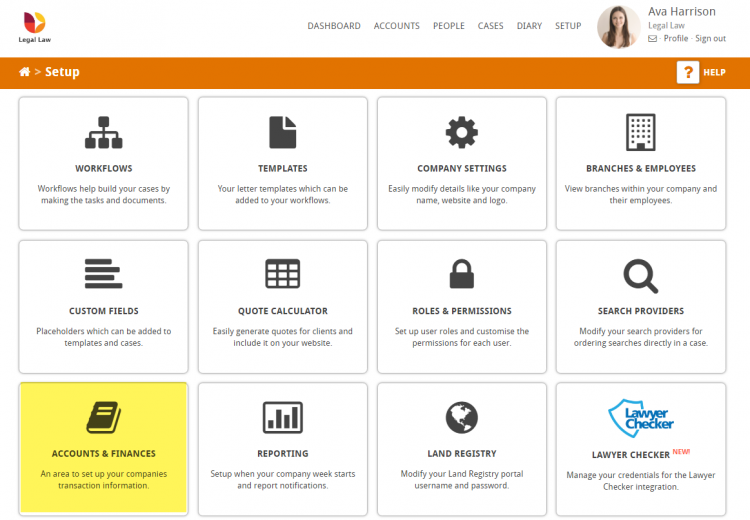
Click the Accounts & Finance box
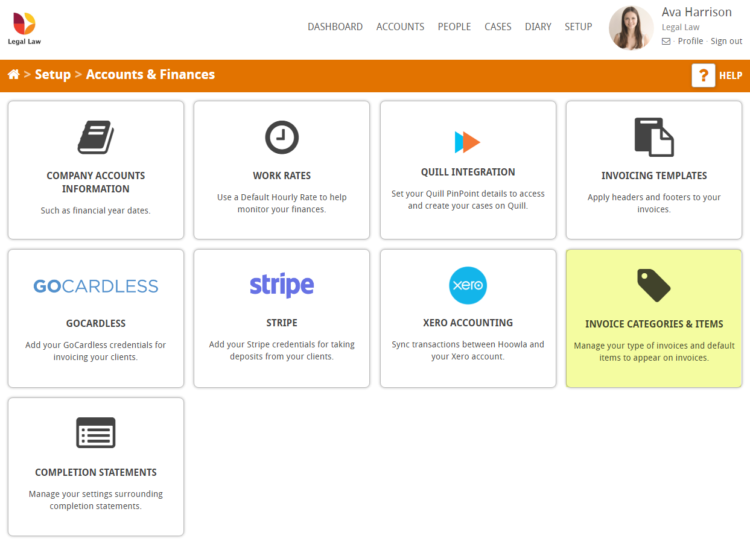
Click the Invoice Categories & Items box
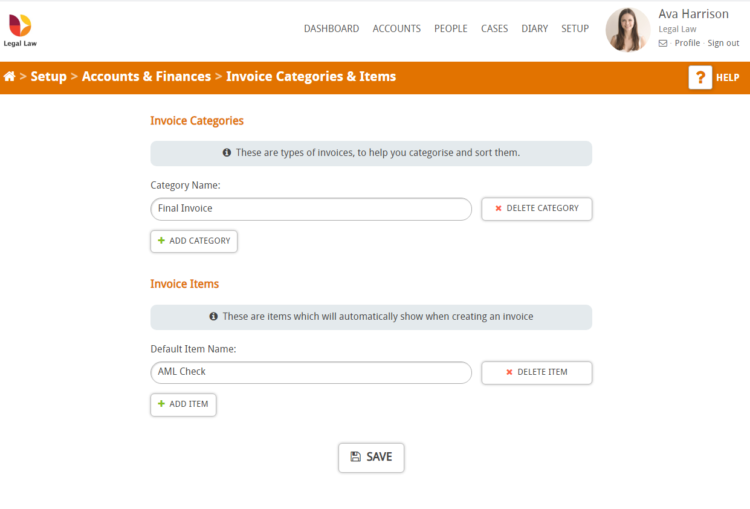
You will then be presented with the following screen:
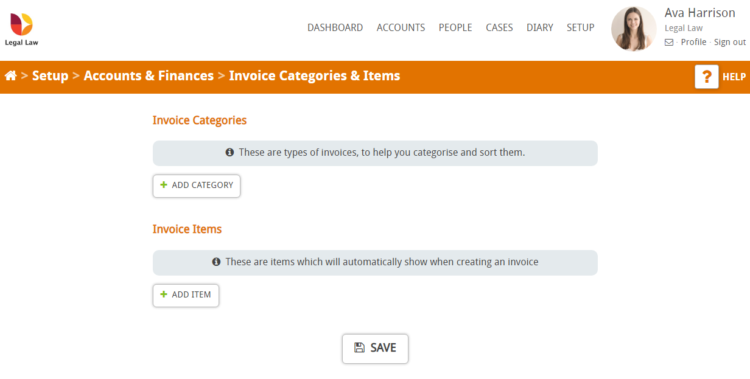
Under Invoice Categories enter the category name you wish to add in the text box. Our example used the name ‘Final Invoice’. To add more than one item at a time click the + Add Item button to bring up a new text box.
Click the Save button. A green notification bar will be displayed to say that your settings have been saved and the new item/s will now be displayed.
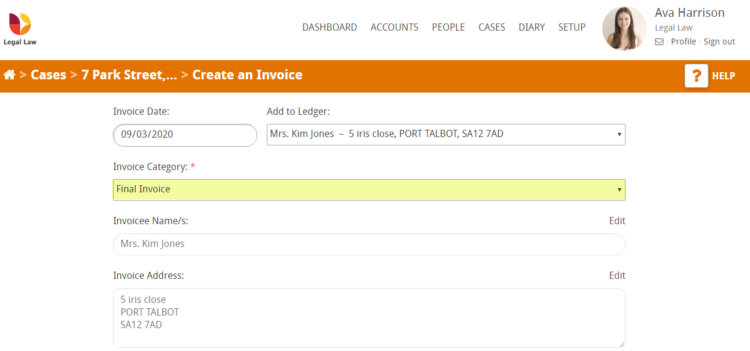
Your new category name will then be present in the invoice category drop down when creating a new invoice, as can be seen below
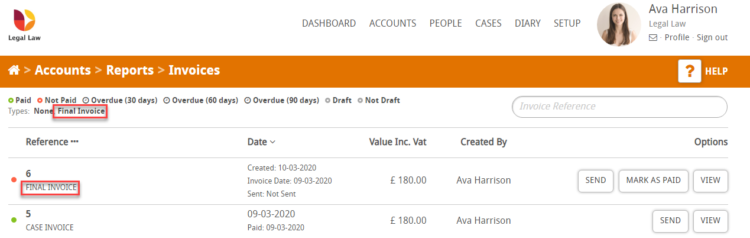
You will also be able to search for this category in the Invoices – ‘Current Point in Time’ report as can be seen below.
Note: this report can be accessed by clicking on the Accounts link, Reports, scroll down to Invoice box and click ‘Invoices – Current Point in Time’
How to set up invoice Items
Click the Setup link next to your name
Click the Accounts & Finance box
Click the Invoice Categories & Items box
You will then be presented with the following screen:
Under Invoice Items enter the item name you wish to add in the text box. Our example uses the name ‘AML Check’. To add more than one item at a time click the + Add Item button to bring up a new text box.
Click the Save button. A green notification bar will be displayed to say that your settings have been saved and the new item/s will now be displayed.
Important note: New invoice items will only show on new cases. If a case has had an invoice already generated the new item will not show and will need to be added manually.
Add a new item to a case where an invoice has already been generated
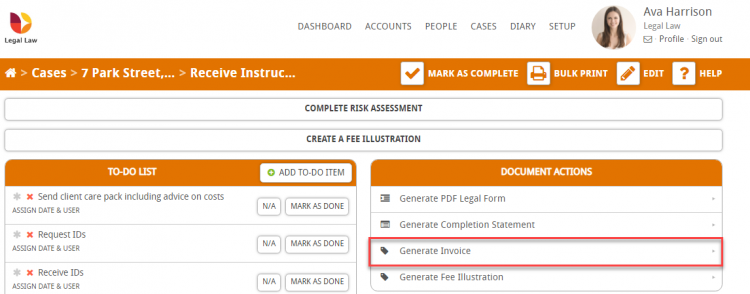
Go to the case and select the milestone in the workflow to generate the invoice on. Click the Generate Invoice link on Document Actions.
At the bottom of the Items to Display on Invoice list is an empty text box. Add your new item, value and select whether you want to apply VAT. If you need to add more than one item click the +Add Another Item box to bring up additional box/es.
Click Save for Later or Generate Document to save or generate the invoice.
