This guide will look at the how you can upload a Word document into Hoowla and turn it into a Hoowla template
How to see my templates in Hoowla
To start it is important to understand where templates are stored in Hoowla.
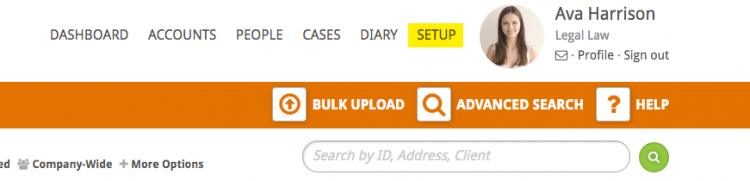
Click the Setup link next to your name.
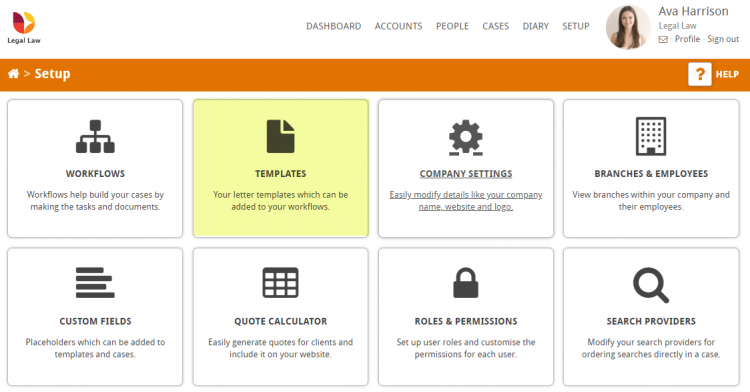
Select Templates
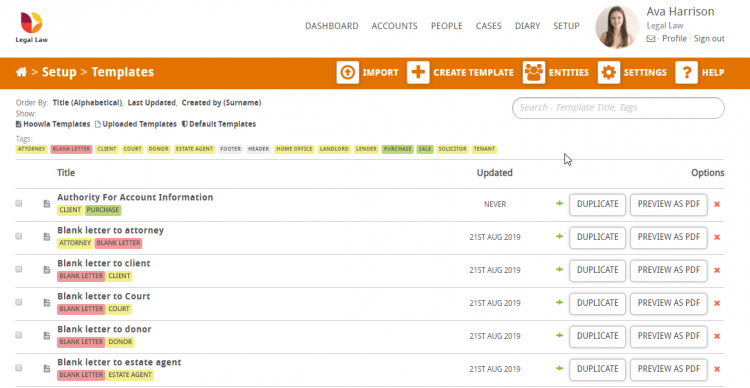
Here you will find a list of all your current templates.
How do I add a Word document to Hoowla?
Click the Setup link next to your name.
Select Templates
Select Import from the address bar

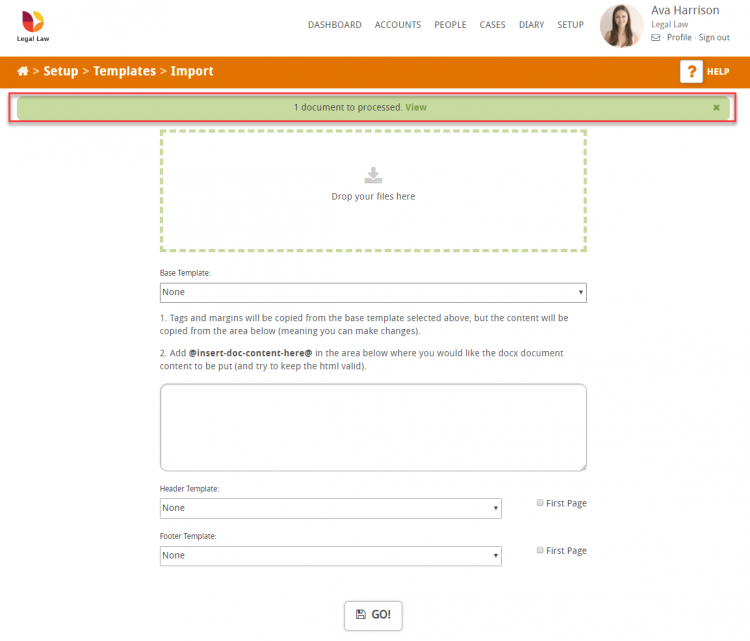
This will then direct you to the Import page as can be seen below. The form is spit into sections, we will look at each section in detail.
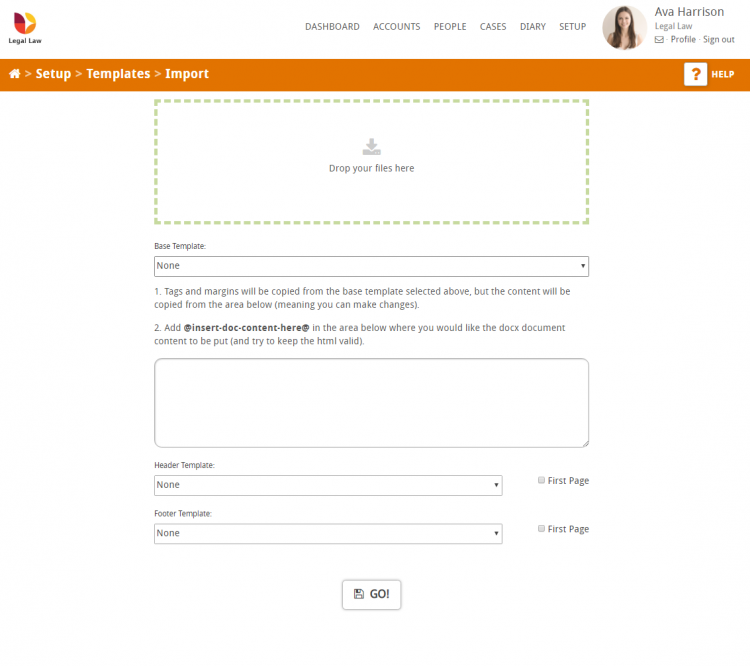
Drop your files here box
This is where you import your files. You have the option to drag and drop files or click in the green area and select which files you would like to add from your computer.

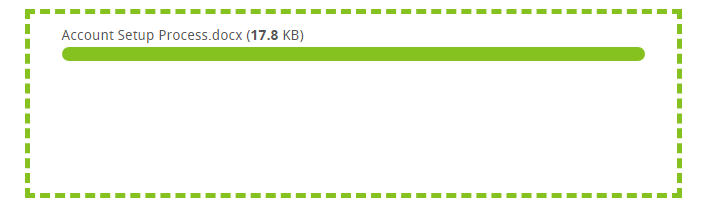
Once you have imported a document it will look like this (Please note: Hoowla works best with Docx documents)
Base Template
A base template is a document you wish to copy the layout of – for example, if you were uploading a letter to client it would be advisable to use or create a blank letter to client so that all your documents have the same layout.
The base template is a dropdown that holds all of the current Hoowla documents.

When expanded it will provide you with all documents you can use as a base template
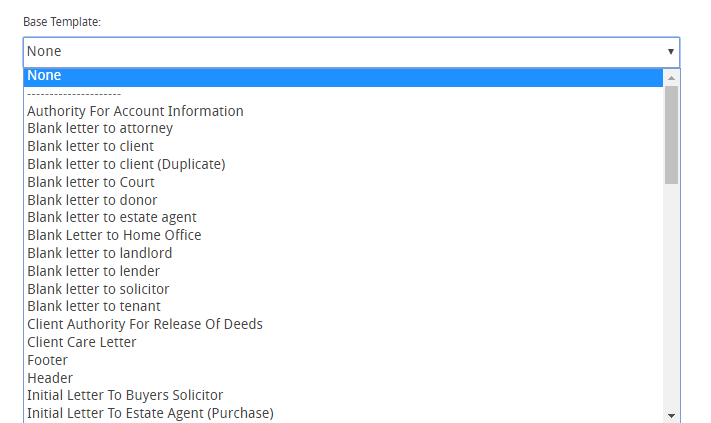
Helpful tip: When Hoowla created your account it generated a number of ‘Blank Letters to…’ entities we thought might be helpful. If uploading a letter using one of these templates as a base will save you a lot of time and effort.
When you have selected a base template you will see that the information for that template has been added in the box below.
Note: if you do not want to use a base template you can skip this section and move on to Header Template and Footer Template.
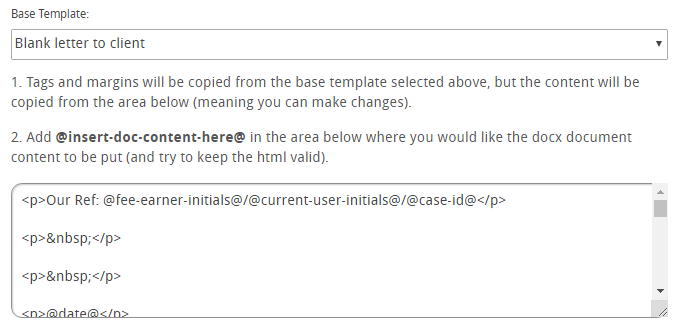
The information below the Base Template dropdown provides you with some helpful hints and tips
1. Tags and margins will be copied from the base template selected above, but the content will be copied from the area below (meaning you can make changes).
This means that the style from the base template will be copied to the document you are uploading. This includes the layout and any information in the base template.
2. Add @insert-doc-content-here@ in the area below where you would like the .docx document content to be put (and try to keep the HTML valid).
You will need to place @insert-doc-content-here@ in the text that has appeared in the box. The @insert-doc-content-here@ holds all the information of the document you have selected to upload and it is important you place it where you would like the information to be added.
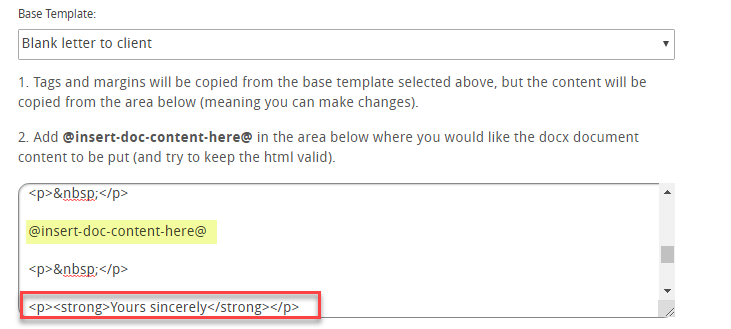
When using a base template that is a letter a tip would always be to add the @insert-doc-content-here@ near the closing statement (such as Yours Sincerely) as you can see above
Header Template and Footer Template
The last section of the form is where you select a header and footer (this is mainly used for letters and can be skipped if not required).
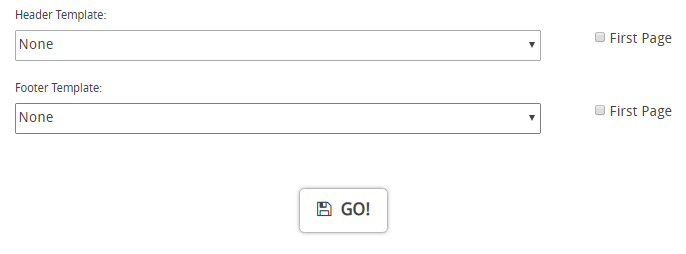
Using the dropdown search for your Header document and Footer document
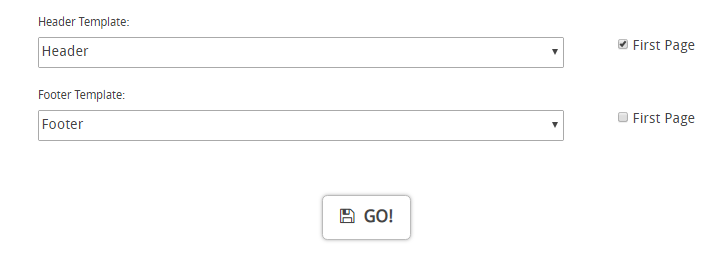
The tick boxes at the side allow you to choose if the header and footer display on the first page only (ticked) or on all pages (un-ticked)
When you are happy press the Go! button.
The form will then clear and a green bar will appear at the top of the document.
Note: if you have uploaded one document it will provide you with a link directly to the document in the green bar (as can be seen below) if you upload multiple documents it will inform you of the number of successful documents uploaded and you will have to view the documents within the template list as explained at the start.