When sending forms to clients to complete, you may have some questions that are mandatory and require a response.
This guide will explain how to create a required field so that the client can’t submit the form unless they have answered the question.
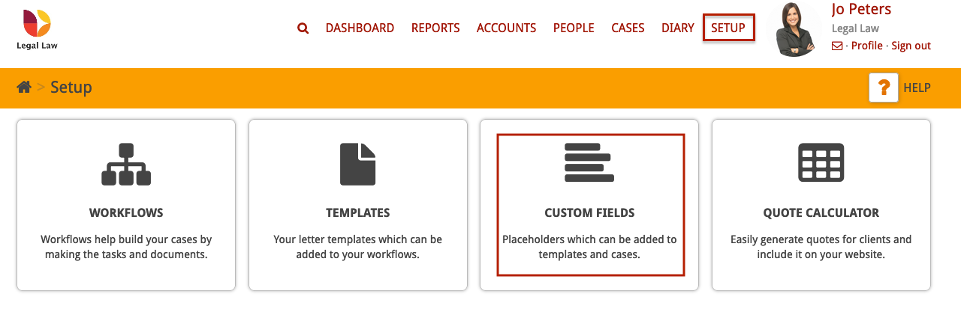
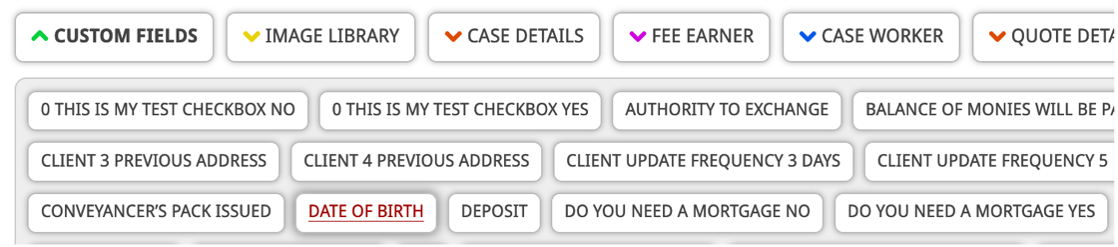
Start by clicking Setup and then click into the Custom Fields area.
At the top of your screen, click Create Custom Field.

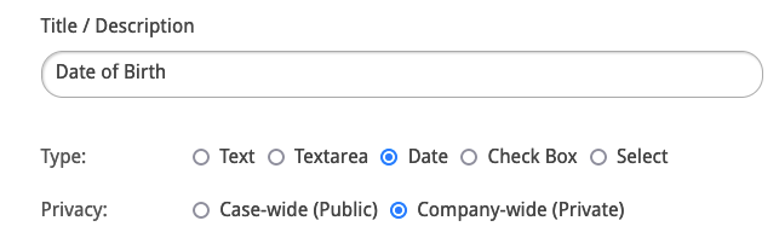
Enter the title of your custom field and select the ‘type’. In this example we are creating a date.
Please note: The Privacy level will be set to Company-wide by default.
To make this a mandatory question, tick the ‘Required Field’ tick-box.
You can also select any tags, link the custom field to a particular entity, and select which cases you want it to be attached to.
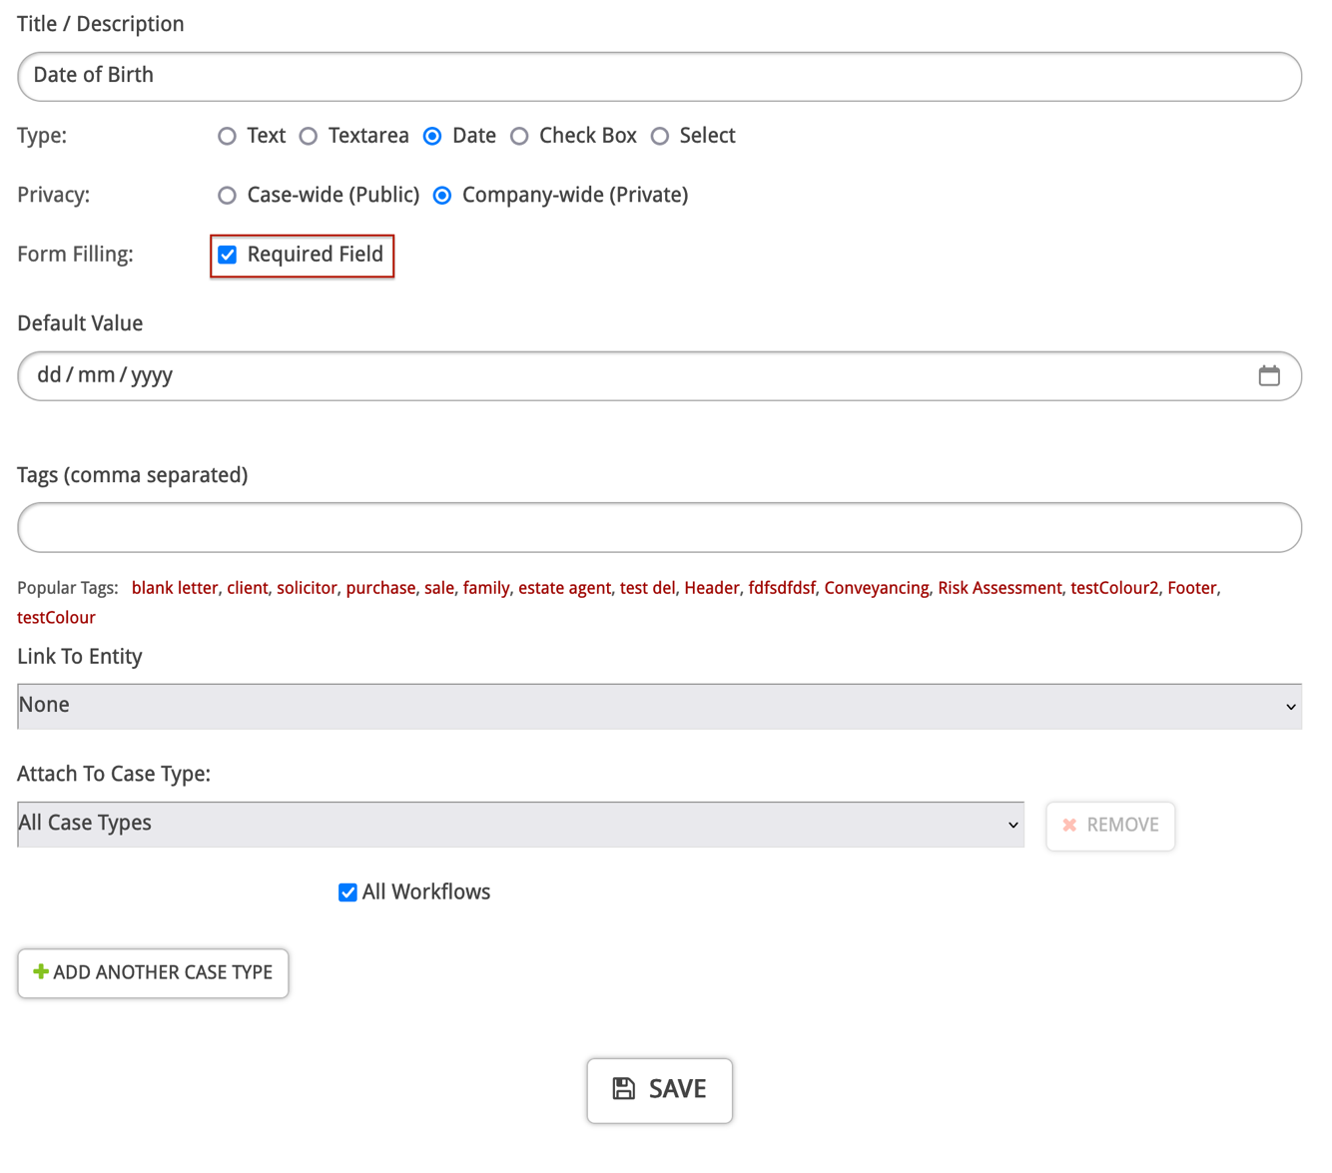
Once you’re happy with your new custom field, click Save.
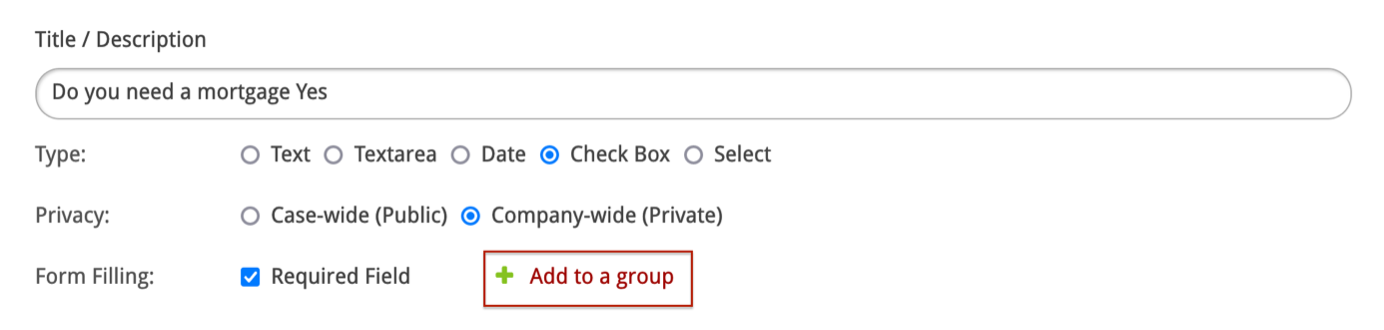
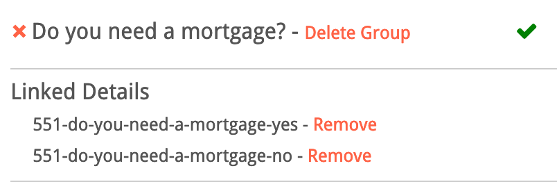
If your required custom field is a checkbox, it will need to be linked to a group to function properly. For example, if the question has the options Yes or No, you will need to create two custom fields and add them to the same group.
After ticking Required Field, click ‘Add to a group’.
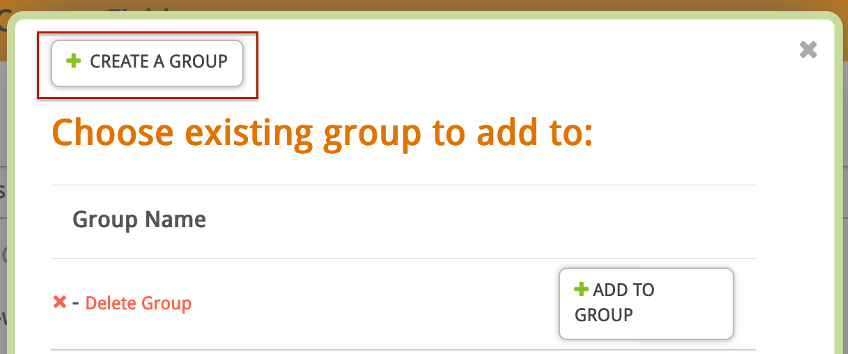
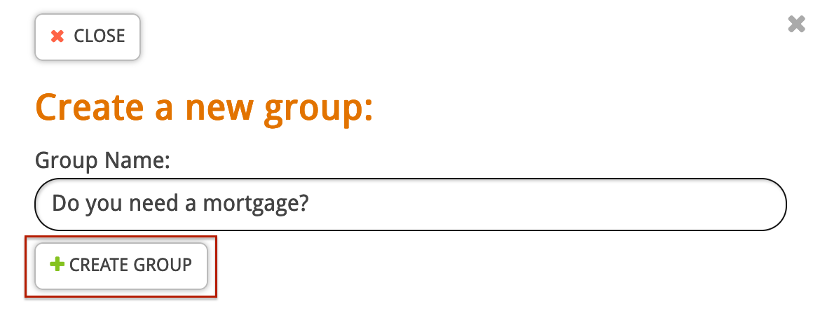
Next, click Create a group.
Enter a name for the group and then click Create Group.
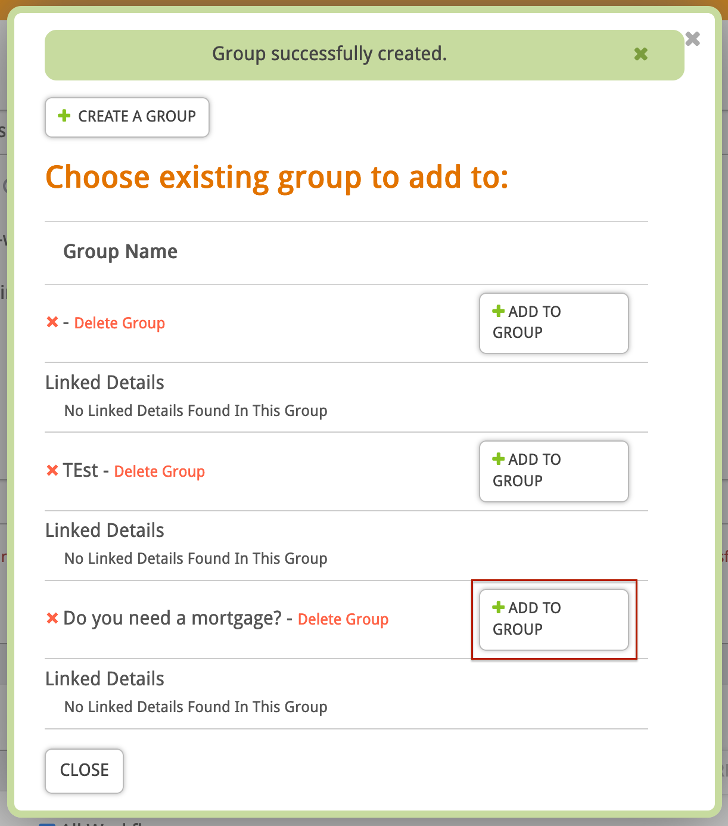
Look for the group you have created and click Add to Group. Remember to click Save!
Now you can create the second checkbox option (in this example – Do you need a mortgage No), add it to the same group, and then click Save.
Your new custom fields will now be available to add to templates.
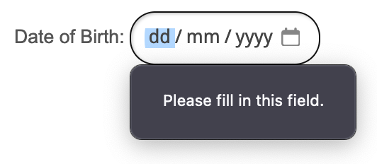
If a client tries to submit a form without answering a required field, they will see this message and will not be able to submit unless it’s been filled.