How to link bills to Suppliers
Linking bills to your suppliers can help you keep track of bills that have been paid, are awaiting payment, or overdue.
To do this, you’ll need to have your suppliers set up which can be found in this guide.
Please note, you will need to have access to the accounts section to do this.
Firstly, click into the Accounts section.

We want to create a bill, so we will record and outgoing transaction by clicking the button shown below.

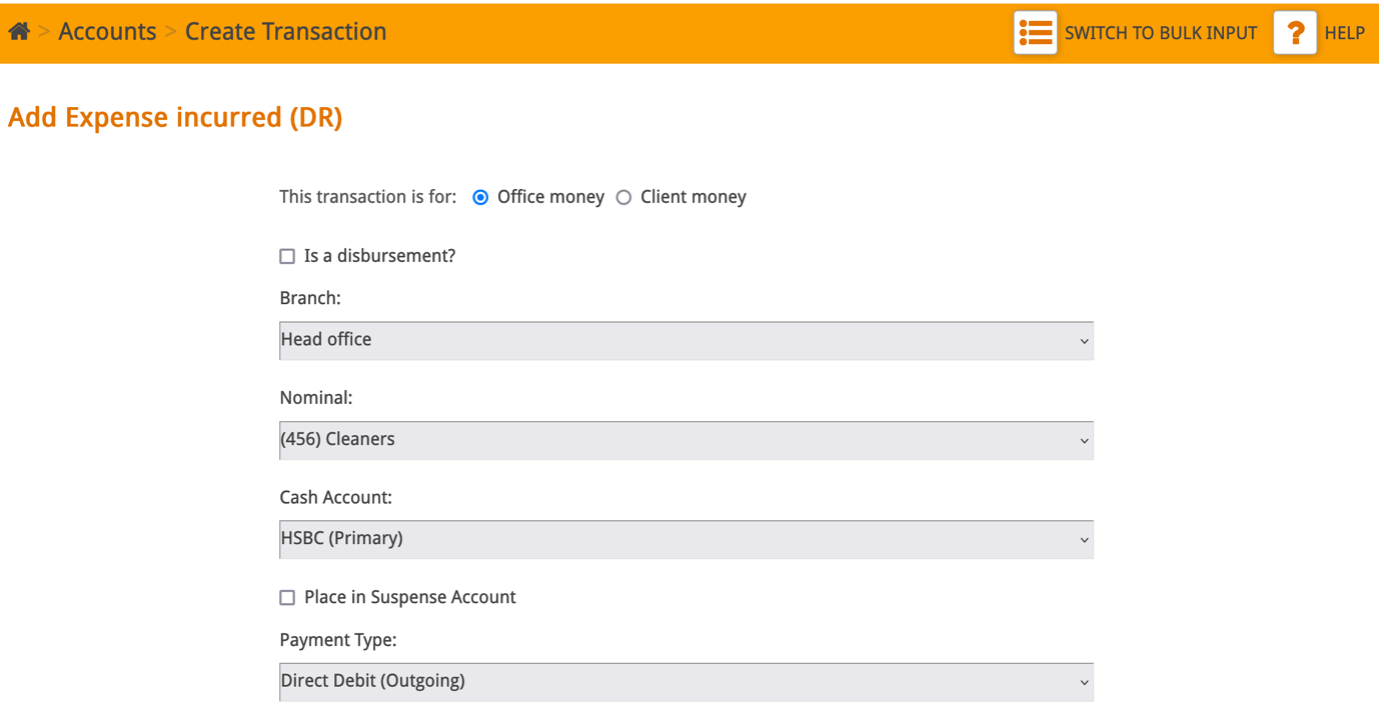
On the next screen, you can enter the details of your transaction:
Use the drop-down menus to select the appropriate branch, nominal, cash account, and payment type.
In this example, our transaction will be recorded in the ‘(456) Cleaners’ nominal.
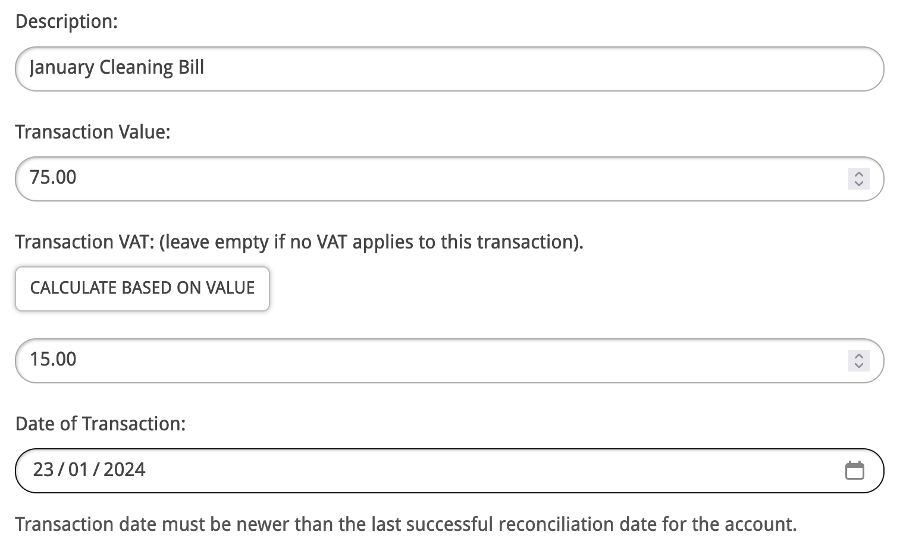
Next, add a description, value, and date to post your transaction.
If VAT applies to your transaction, you can click the ‘Calculate Based on Value’ button automatically calculate this.
To link this bill to a supplier, tick the below checkbox.

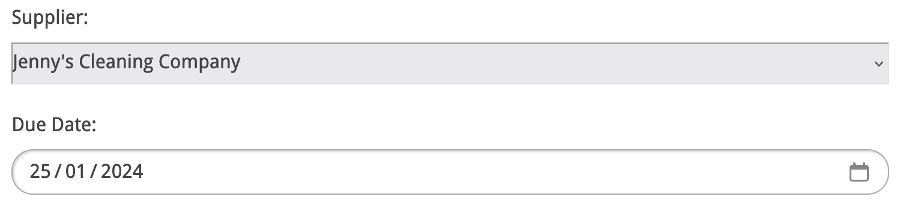
Next, use the drop-down menu to choose the appropriate Supplier from your existing suppliers list.
Add a due date for the bill.
Once you are happy with the details you have entered for the transaction, click Save.
You will see that the transaction has been posted in the relevant nominal.
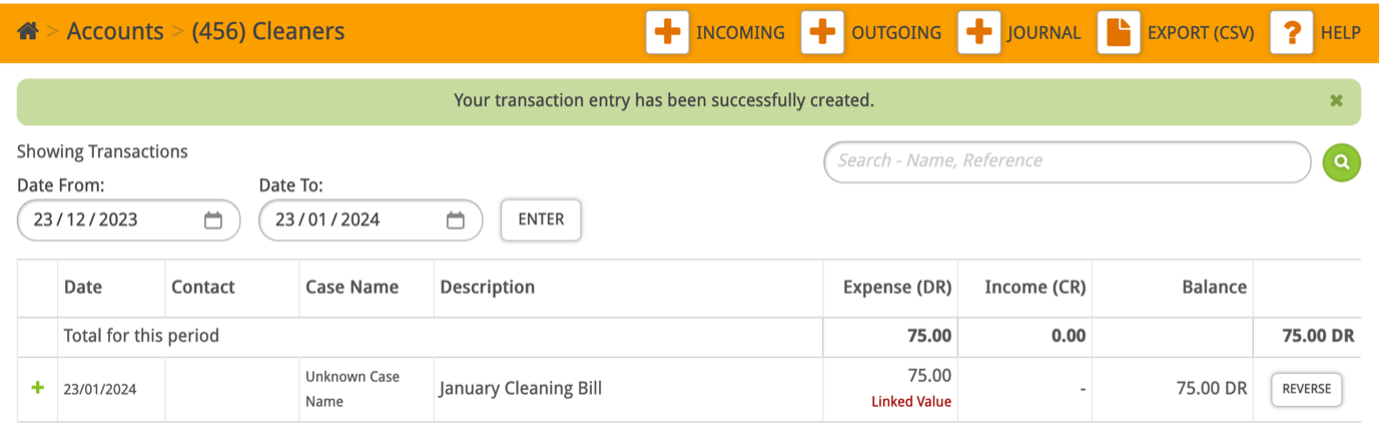
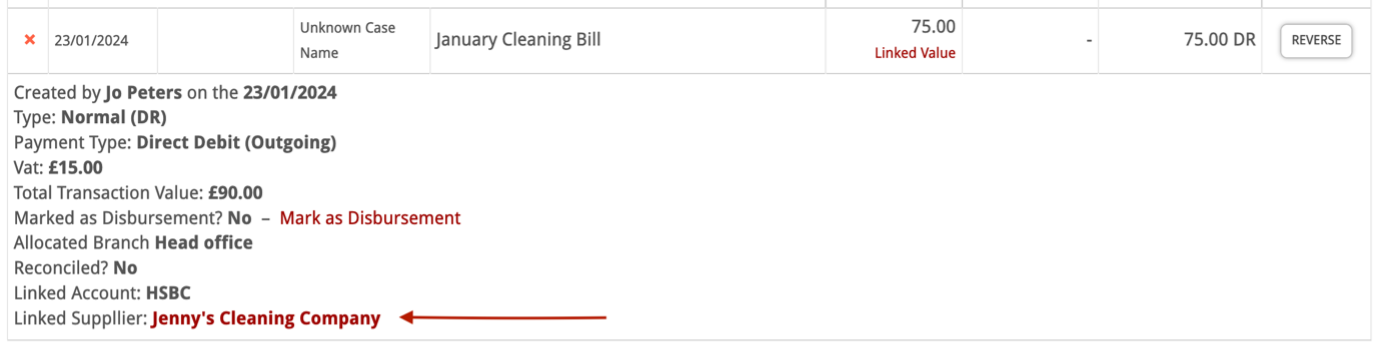
You can click the green ‘+’ icon to view additional information about the transaction.
We can see that the bill has been linked to the Supplier ‘Jenny’s Cleaning Company’.
Now, you’ll be able to view any bills you have linked to a supplier by clicking Accounts > Suppliers.
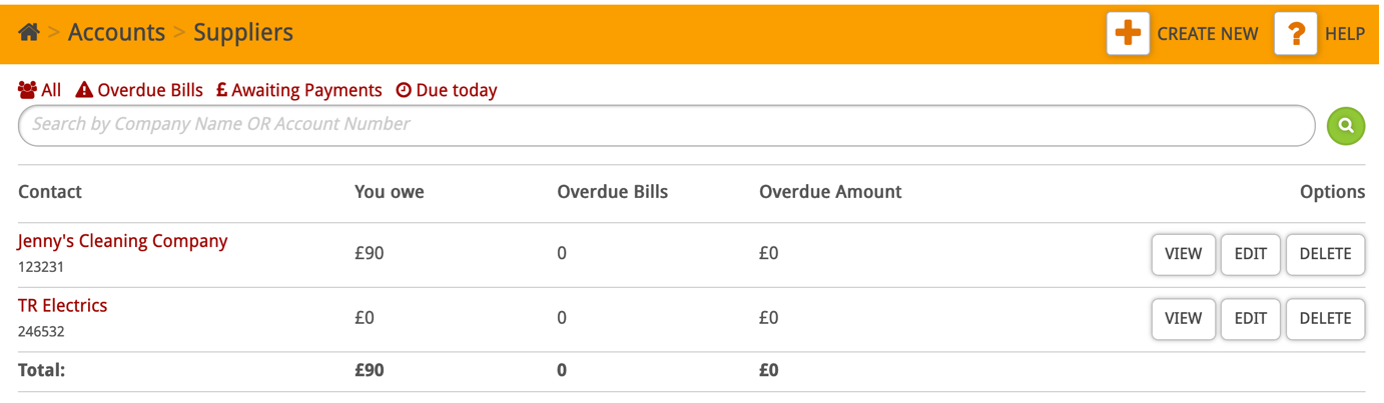
To view all bills for a specific supplier, click on the Supplier’s name.
This will show you the bills you have linked to this supplier, which you can view or mark as paid using the buttons shown below.
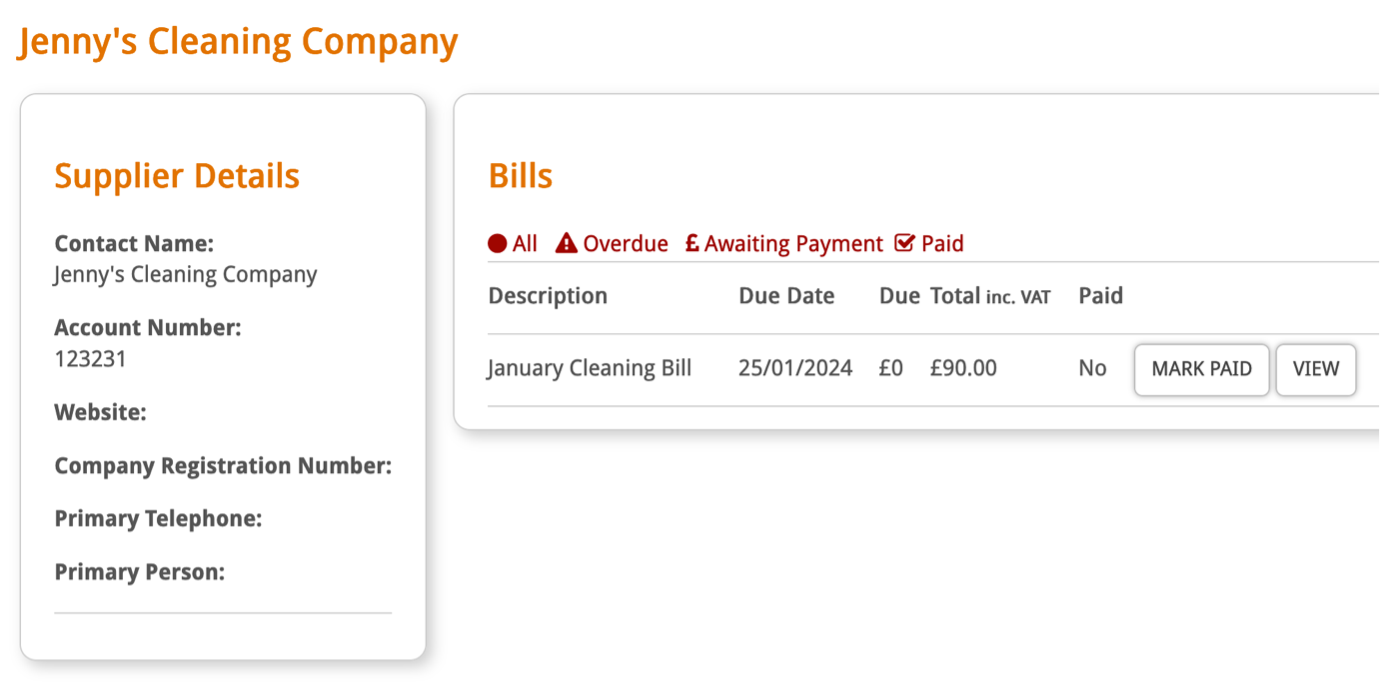
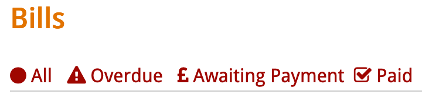
You can also use the filters to easily identify which bills are overdue, awaiting payment, or have been paid.