This guide will look at how to set up your LMS Integration. With this integration, you can submit documents, receive documents, and communicate with LMS directly through Hoowla.
Before you start this guide, you should have:
- LMS Law Firm ID
You can obtain your Law Firm ID directly from LMS by contacting them.
HOW TO SET UP YOUR LMS INTEGRATION
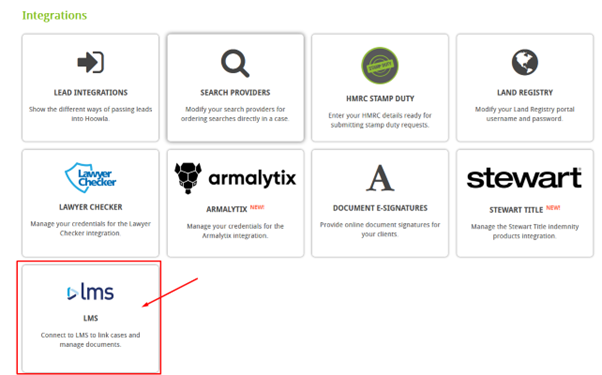
Click on Setup

Then click on “LMS” under Integrations
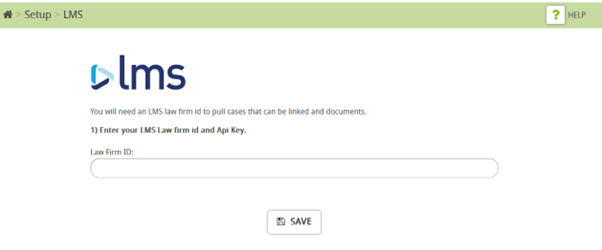
You will then have to enter your Law Firm ID and click SAVE
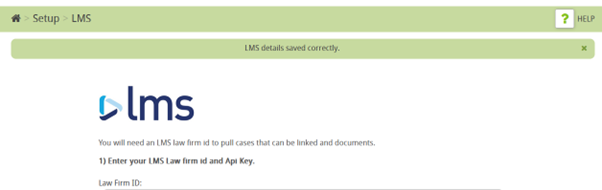
Then you will see a success message:
Using the LMS integration
Before using the LMS integration you will need to ensure it is setup on your account. Please follow this guide to link your LMS account to your Hoowla account
To start using the LMS integration on a case, you will need to add the LMS action button to a milestone within a workflow.
To do this, go to Setup, then click on Workflows

Select a milestone on the workflow to which you want to add the LMS integration to. This is usually for purchase and remortgage transactions.
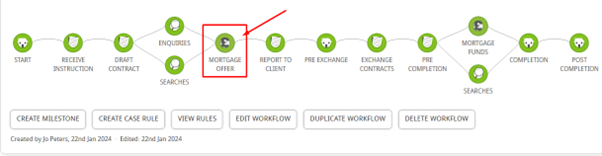
When you click on the Milestone, scroll down to Action Buttons and select it.
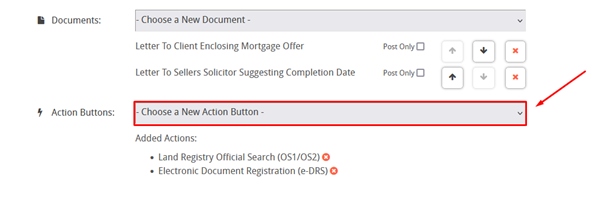
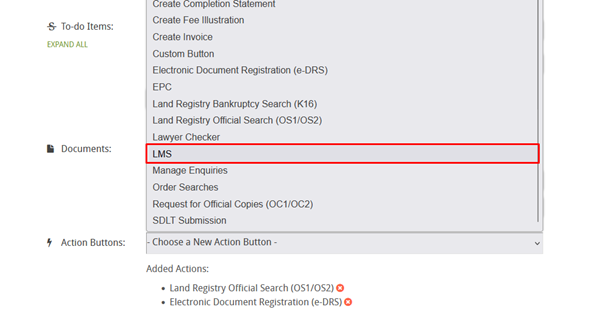
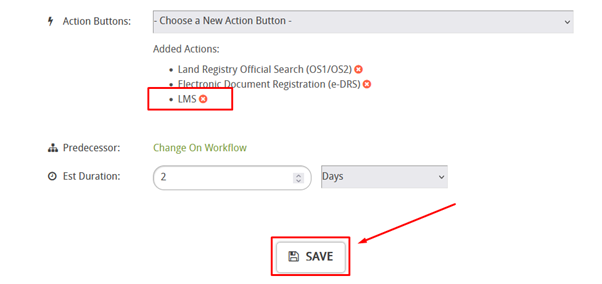
From the drop-down list, select LMS, to add this to the workflow.
Then click SAVE.
USING THE LMS INTEGRATION
Once you have completed the above steps, open a case using the workflow that has the LMS action button.
You can access the LMS integration from two places within a case:
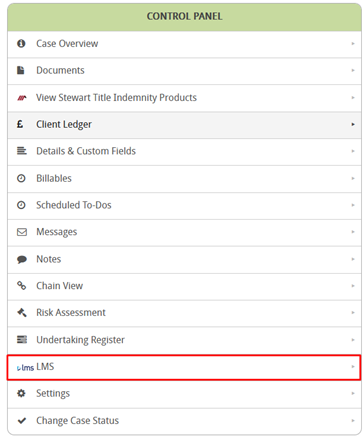
- Control Panel on the main screen of the case.
- Within the Milestone in which you added the LMS action button.
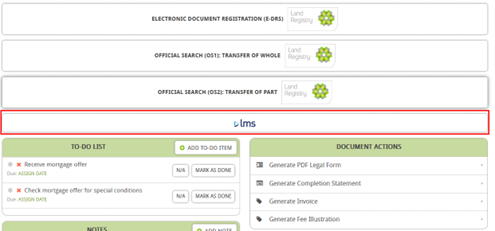
Either option will take you to the LMS integration.
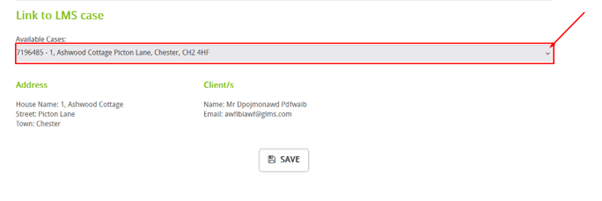
You can now Link your case to a relevant LMS case by clicking Link and then choosing the relevant LMS case from the drop-down list.
After successfully linking the case, from this area, you can now perform the following actions:
- Provide Charge Registration Document to LMS
- Provide Charge Registration Delay Reason to LMS
- Upload and send relevant document directly to LMS.
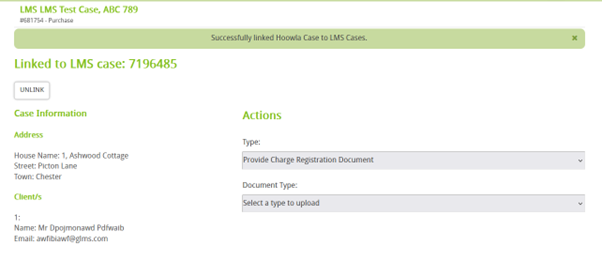
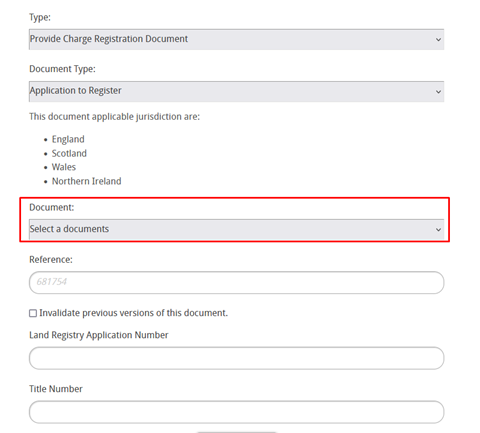
Provide Charge Registration Document to LMS
You can select the document type that you want to upload from the drop-down menu.
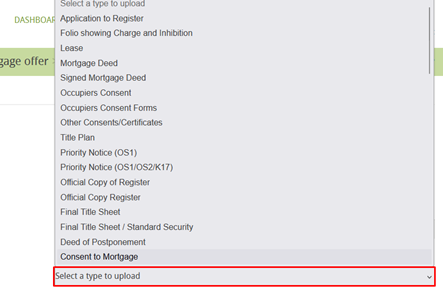
After selecting the document type, you will be prompted to upload the document to submit to LMS. Note that the document needs to be uploaded on to the Hoowla case before it will appear in this drop-down menu.
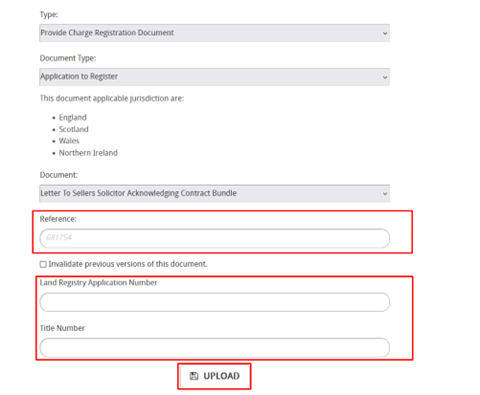
After selecting the document. Enter the additional information such as the Reference, Land Registry Application Number and Title Number. Then click on UPLOAD to submit the document to LMS.
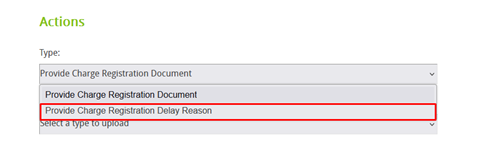
Provide Charge Registration Delay Reason to LMS
To provide a charge registration delay reason, select this action from the Type drop down menu.
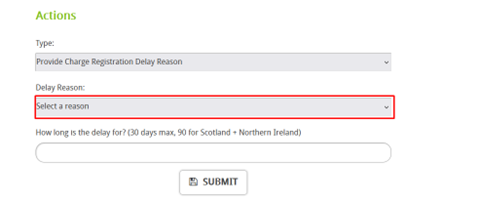
You can then select the reason for delay from the drop down menu, enter the duration of the delay and click on SUBMIT, to send your response to LMS.
Receiving documents from LMS
If LMS sends you documents once you link your case to theirs, the documents will automatically appear within the Documents section of the case.
You can review the documents on the case by opening the case, navigating to the CONTROL PANEL on the dashboard and then clicking on Documents.

The LMS documents will automatically be tagged as “LMS”
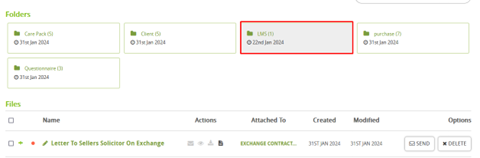
Here is the tag on the document,
