In this guide we will cover how to setup Auto Billables in Hoowla. They can be configured to automatically add to the case via sent or received emails. This can be a great time saver and a convenient way to bill for time spent on cases. Please note in order to set this up you will require Owner level permissions.
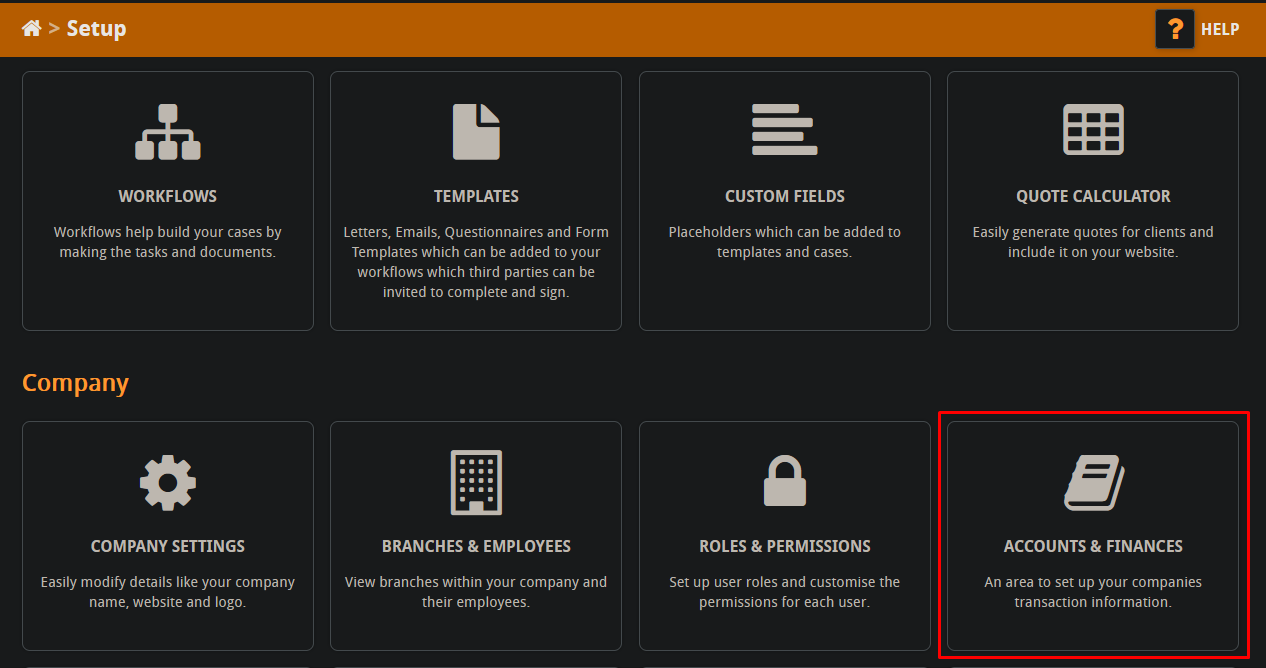
To start click on Setup.

Then click on Accounts and Finances.
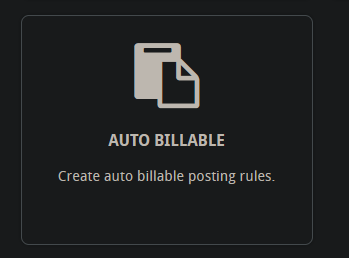
At the bottom of the page click on Auto Billable.
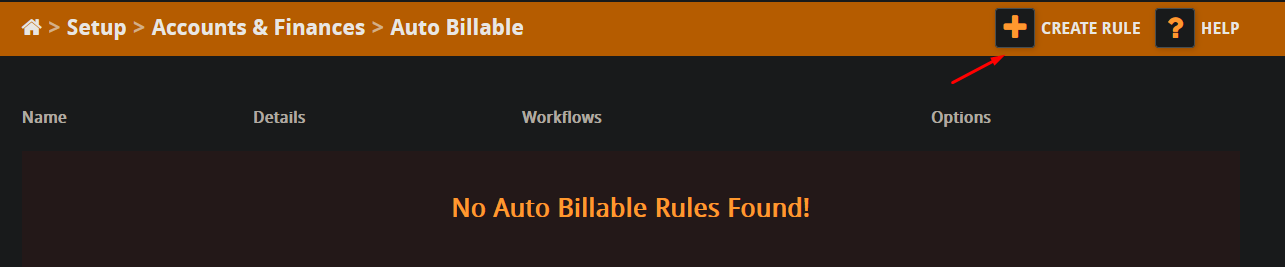
Now that we’re in this area we need to create the Auto Billable rules, click on this button to get started.
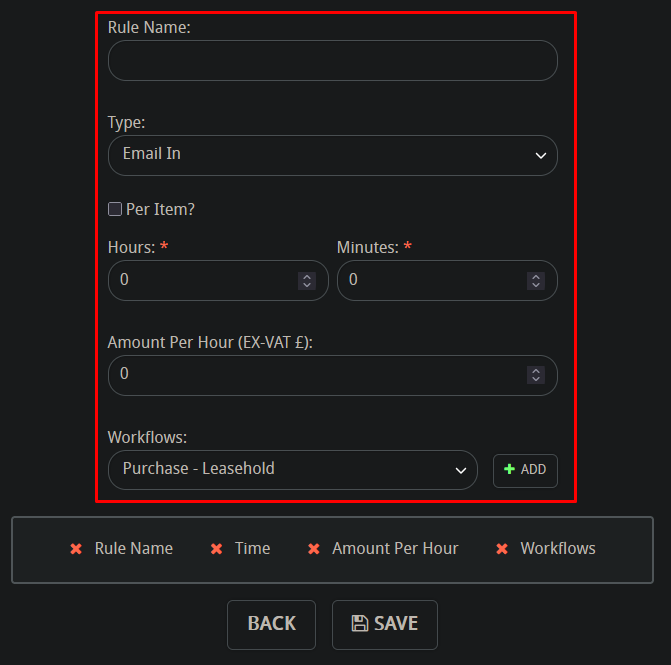
You will need to fill out all the given information to create the rule here is a breakdown of what each part means,
- Rule name: This is the name of your rule.
- Type: Here you can specify whether the rule attaches the billable to a sent email from the case (email out) or to an email attached to the case via exchange sync (email in).
- Per item?: If you tick this box then instead of an hours and minutes charge it will charge a flat rate for each email sent/received.
- Hours and Minutes: This is where you enter your charge per hour and minute.
- Amount Per Hour: This is where you enter in the flat rate for each email sent/received.
- Workflows: Here you can add in the workflows that this rule will run on. It’s important to note that the rule will only run on these workflows. So if the case you’re sending emails out from or receiving emails on does not use one of the specified workflows the rule will not run.
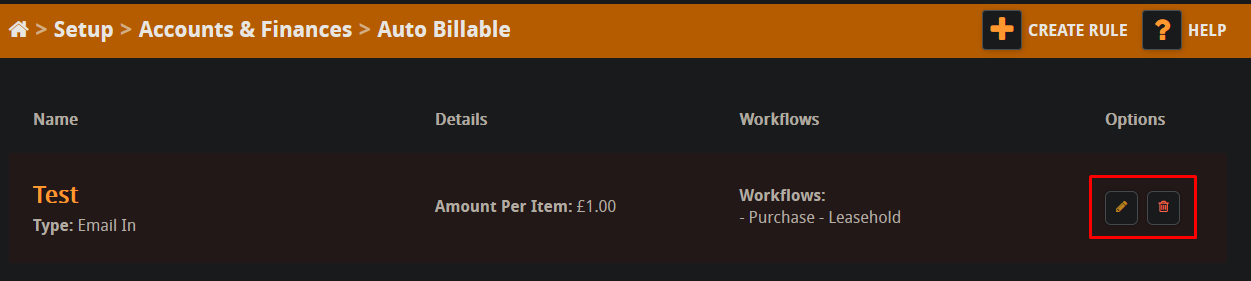
Once you have setup your rule it will display in the Auto Billable area and take effect immediately. Also, you can use the bin icon to delete it and the pencil icon to edit it.