What are workflow rules?
Workflow rules are a useful way to automate a lot of the tasks that are usually carried out on a case. You can do things from adding documents on case creation to automatically emailing clients. There are two types of rules, rules on workflows and rules on milestones.
How to add a rule to a workflow
To add a rule to a workflow, let’s start by going to setup.
![]()
Then click on the workflows button.
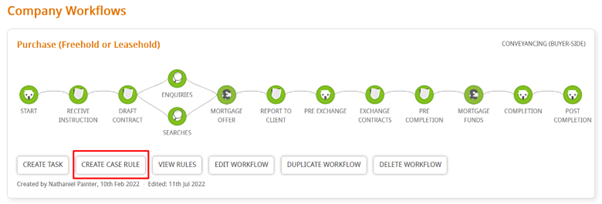
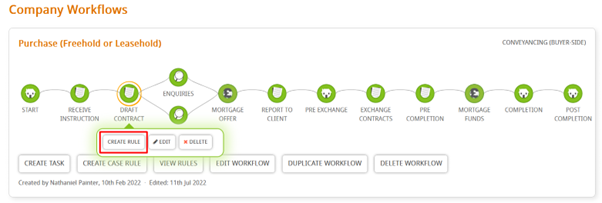
Find the workflow you want to add the rule to and click on the create case rule button.
The rules are broken down into three steps.
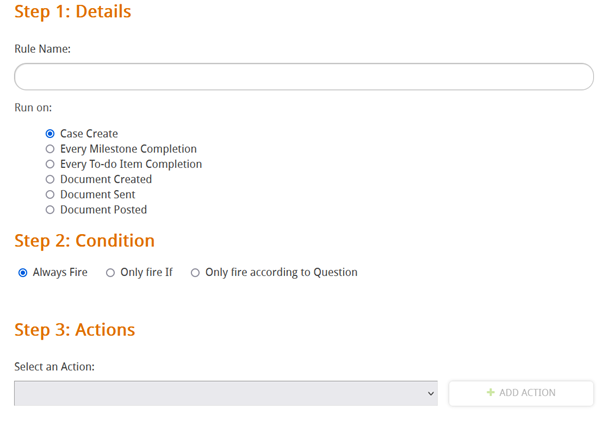
- Details
- Rule name: This is where you add a name for your rule.
- Run on: You can set the specific trigger for the rule to activate on.
- Case create: The rule will activate when the case is created.
- Every Milestone completion: The rule will activate whenever a milestone is completed.
- Every to-do item completion: The rule will activate whenever a to-do is marked as done.
- Document created: The rule will activate whenever a document is created on the case.
- Document sent: The rule will activate whenever a document is sent from the case.
- Document posted: The rule will activate whenever a document is sent by clicking the post button.
- Conditions
- Always fire: This means that the rule will always activate when the details are satisfied.
- Only fire if: The rules will only activate after further criteria are satisfied. These can be set within this area.
- Only fire according to question: This will let you set a question up so the rule will only fire if a certain response is given to the question.
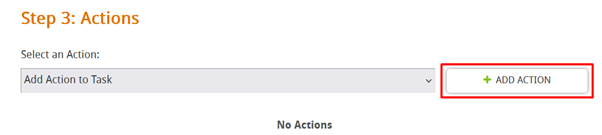
- Actions (To add an action, select it from the drop-down menu and click the add action button. There are a lot of actions, so we’ll cover the basic ones in this guide)
- Add action to task: This will add a button of your choosing to the specified area when the rule has been triggered.
- Add custom field: This will add a custom field of your choosing to the case when the rule has been triggered.
- Add document: This will add a document of your choosing from your template section to the specified milestone or case when the rule has been triggered.
- Add to-do item: This will add a to-do item of your choosing to the specified milestone when the rule has been triggered.
- Digital On-boarding: This rule can invite the client to sign and fill in forms of your choice. This is currently the most popular action.
- Complete to-do item: This will mark a to-do item of your choosing as done when the rule has been triggered.
- Create reminder: This will create a reminder and assign it to someone of your choice when the rule has been triggered.
- Generate form: This will add a legal form to a case or milestone of your choosing when the rule has been triggered.
- Invite user: This will add a user of your choosing to the case when the rule has been triggered.
- Send document: This will send a document that is on the case to anyone of your choosing. It is important to note that the document must already be on the case for it to be sent. You may need to create a rule to add the document first if it is not already on the case.
When you’re happy make sure to click the add action button to add in your desired action,
How to add a rule to a milestone
To add a rule to a milestone, go setup.
![]()
Then click on the workflows button.
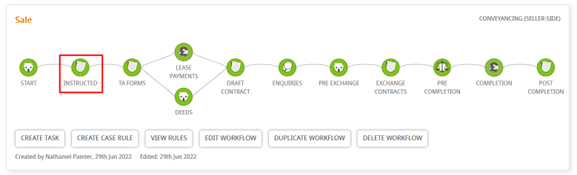
Hover over the milestone you want to add a rule to and click on create rule.
The layout will be identical to the case rule section above.
Example rule
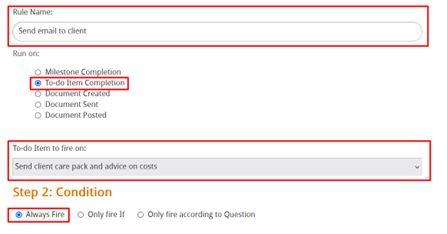
In this example, we want to create a rule that sends an email to the client containing some documents for them to view. We also want this rule to trigger after a certain to-do is marked as done.
Let’s create the rule on the instructed milestone of this example workflow.
We’ve named my rule and set it to always trigger when the to-do we want is marked as complete.
We’ve checked and the document I want to send is not on the case. So, we’ll need to create an action to add that document before I create an action to send it.
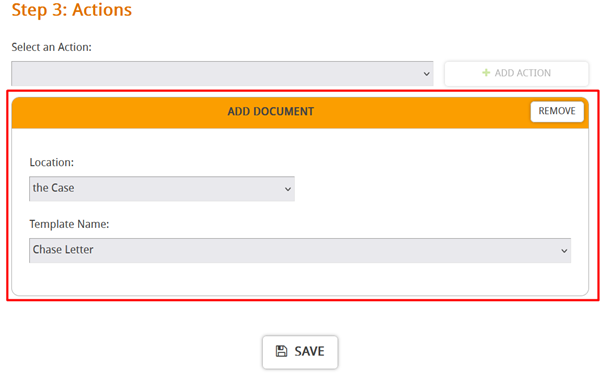
Now that’s done, we can create another action to send that document to the client.
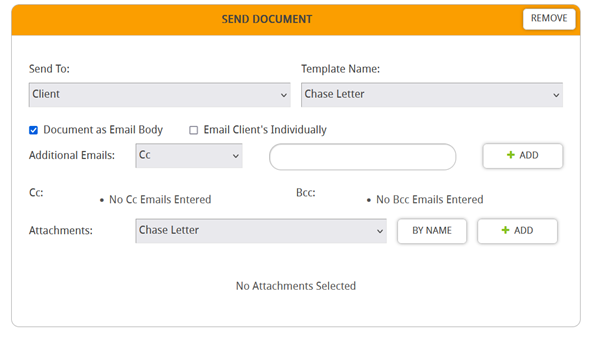
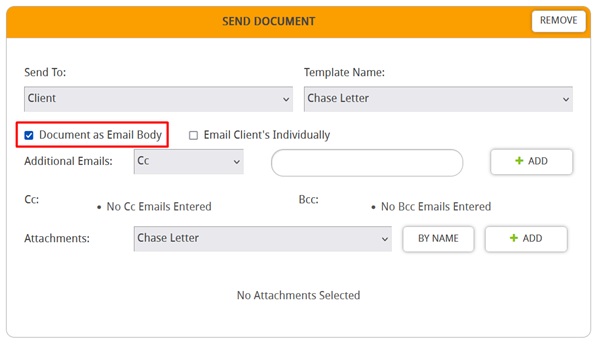
You can also add people into the email like you would by cc’ing them in. It is also important to tick the document as email body box. This will make sure that the document will be part of the email body and not an attachment.
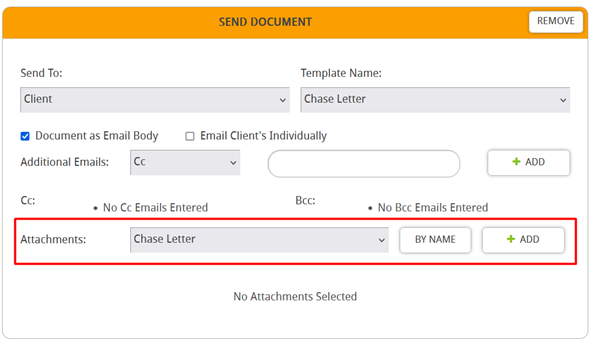
You can also add extra attachments by selecting them form the attachments drop down menu.
Click save. Now when that to-do is marked as done the rule will activate. An email will go out to the client on the case with the document specified in it.