This guide will look at how to add additional circles in Missing People on a case. The circles are generated when the entity is present on a document contained within the case. So if an entity ‘Lender’ is included on a document then the ‘Lender’ circle shows in the Missing People.
There is another way to add additional circles to the Missing People screen and that is using the workflow assigned to the case. By adding all relevant entities to a workflow then each case, which has that workflow, will have those entities. This means that the circles will pre-populate (without the need for the relevant documents to be on the case).
HOW TO ADD ADDITIONAL CIRCLES IN MISSING PEOPLE
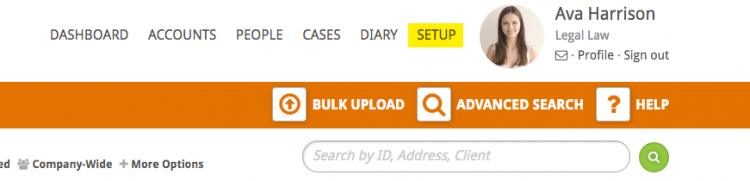
Click on Setup
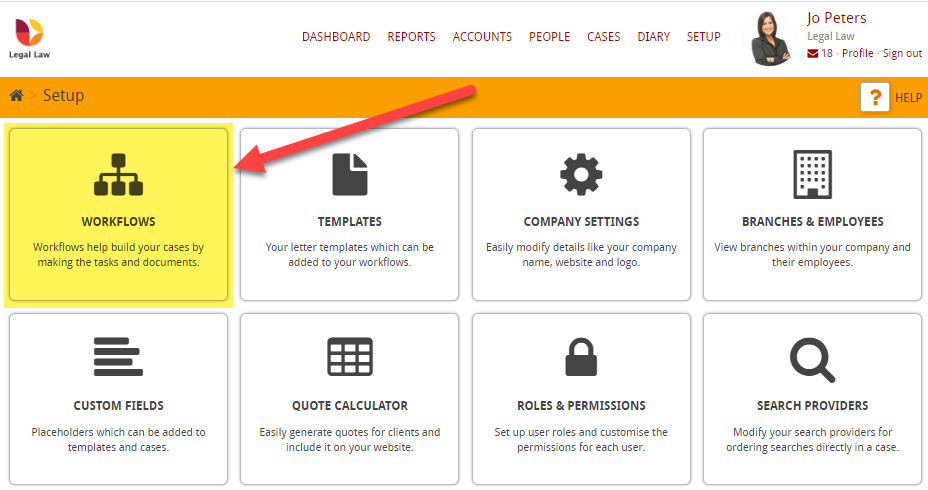
Then on Workflows
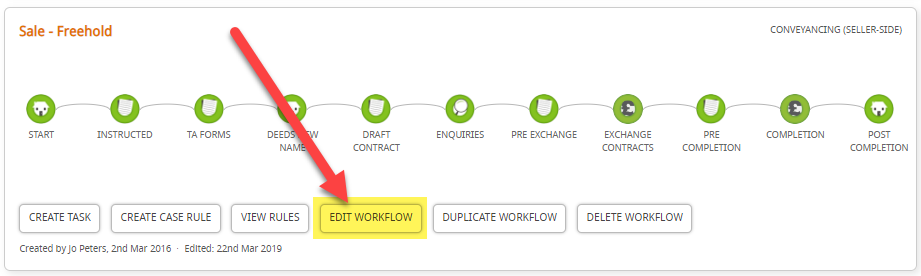
Then click Edit Workflow on a workflow, for this example I will use ‘Sale-Freehold (Seller-Side),
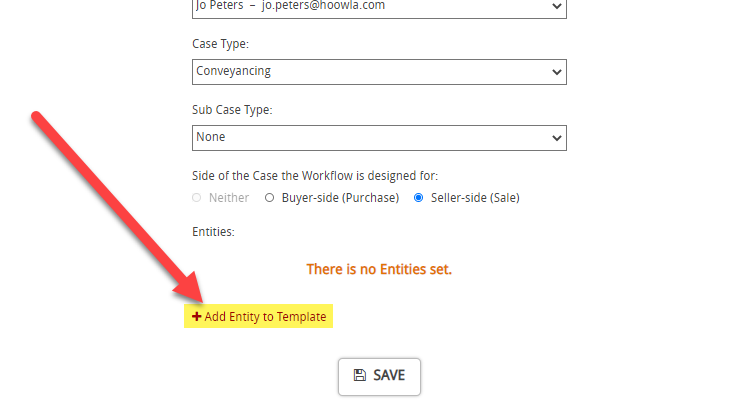
At the bottom of the screen you will see an Entities section:

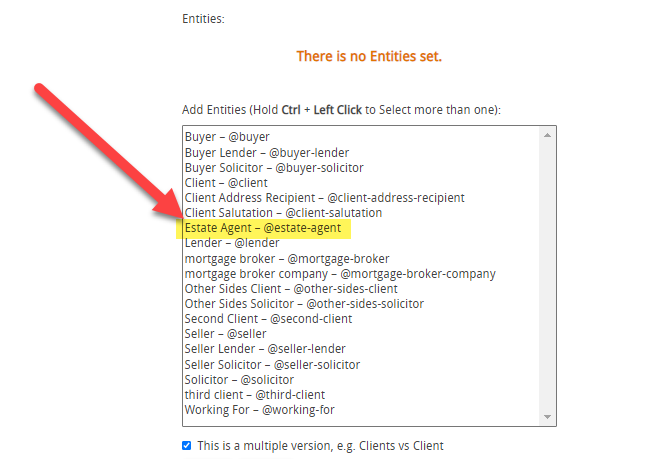
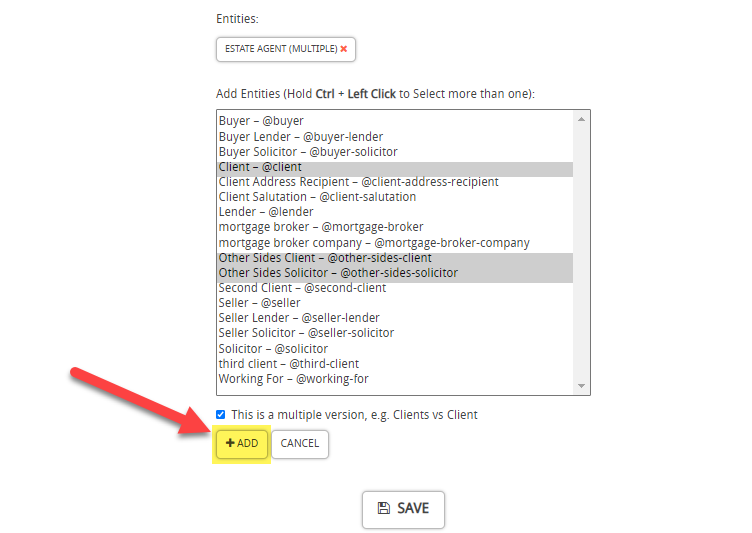
To add entities to a workflow then click +Add Entity to Template
Then select which entity, or entities, that you would like to automatically be showing on a case, which has this workflow. For example, for the Estate Agent circle to always show then click on Estate Agent – @estate-agent
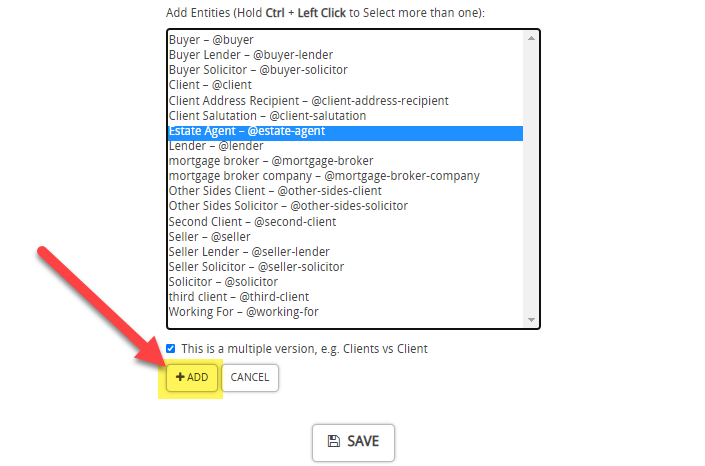
and then press Add
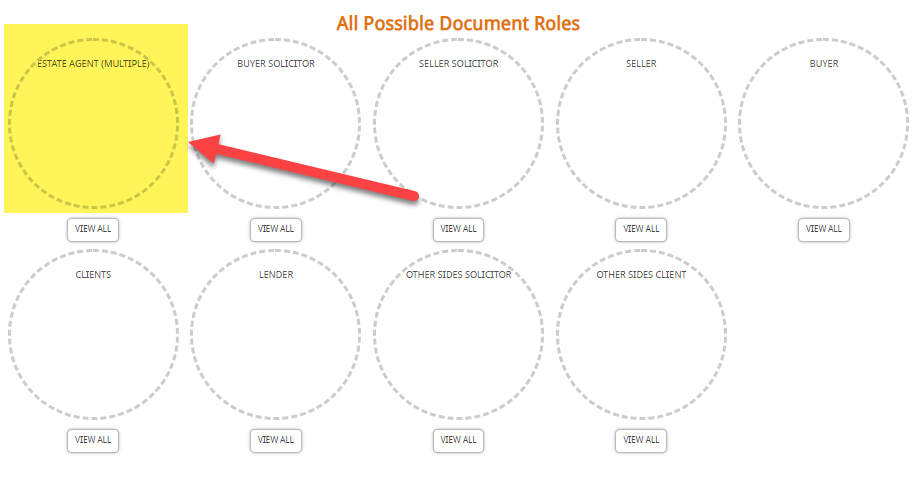
This means that the Estate Agent circle will show in the Missing People section for every case that has this workflow:
Note: By default, the tickbox for This is a multiple version, e.g. Client vs Clients will be ticked. However, you can untick it if you wanted to just have the singular rather than the plural.
If you want to add multiple entities then the quickest way is to hold Ctrl + Left Click and then click on all of the entities you want to add:
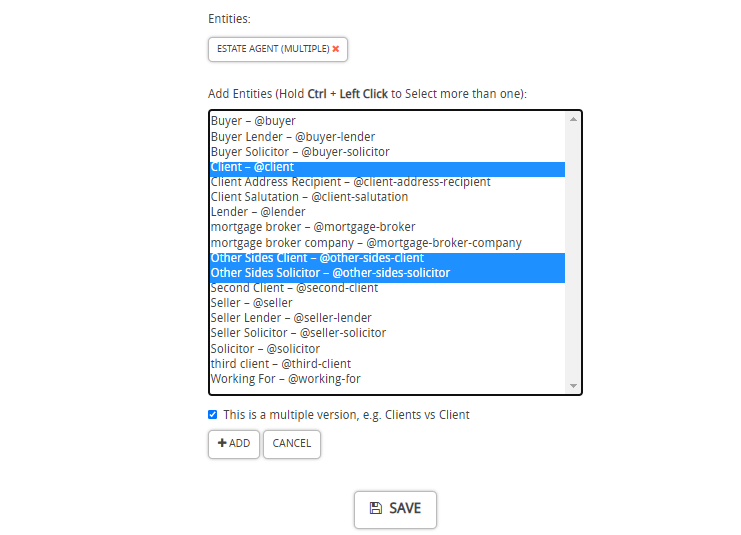
then press Add
Then click Save

You will see all the entities that you created displayed beneath:
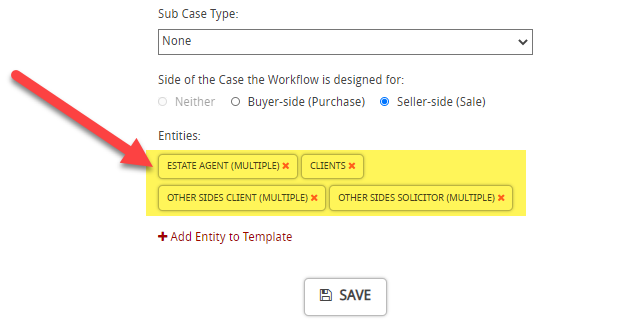
To remove an entity then click on the red cross next to it’s name:

and remember to click Save
