This guide looks at how to send letters and documents to people from within Hoowla. On a case you can send documents from either the milestone or document screen. This guide will show you how both works.
First with each route you have to find the case you want to email from.
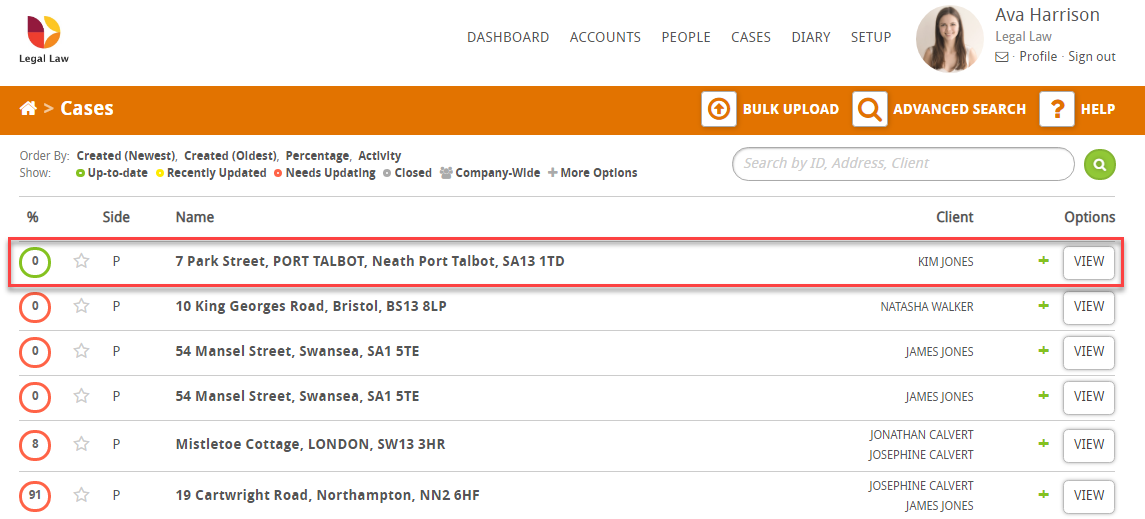
Start by clicking the Cases link at the top of Hoowla.

Next, choose a case from the cases list.
Now we can look at each of the two routes. First via the Documents area of a case.
Sending a letter/file via email from the document screen of a case.
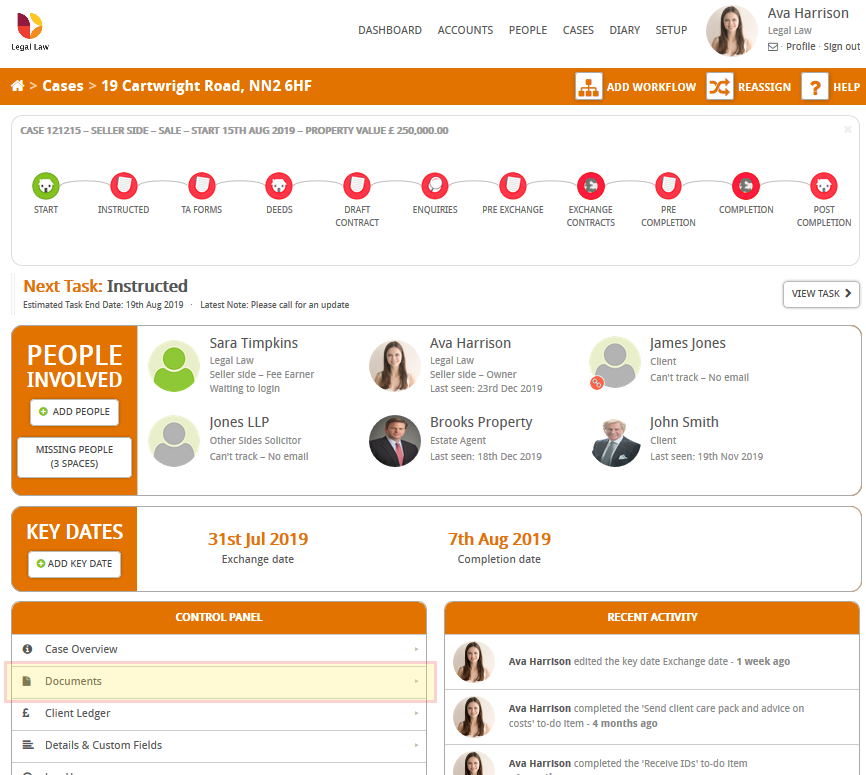
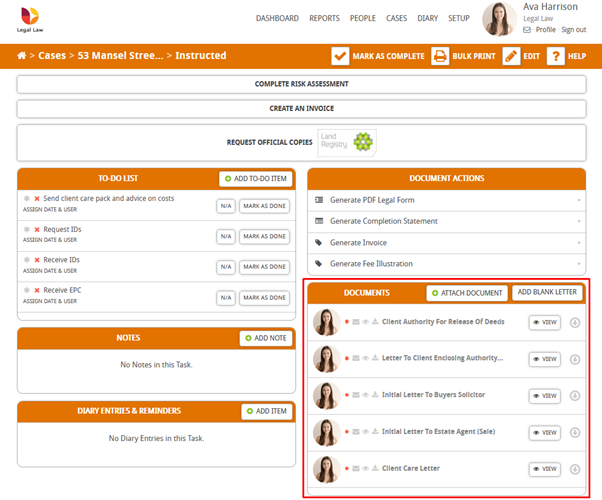
Once in the case view, scroll down to find the Documents link in the Control Panel.
In the documents view you’ll be able to see the documents attached to the case. They can be found in the Folders or underneath in the Files list.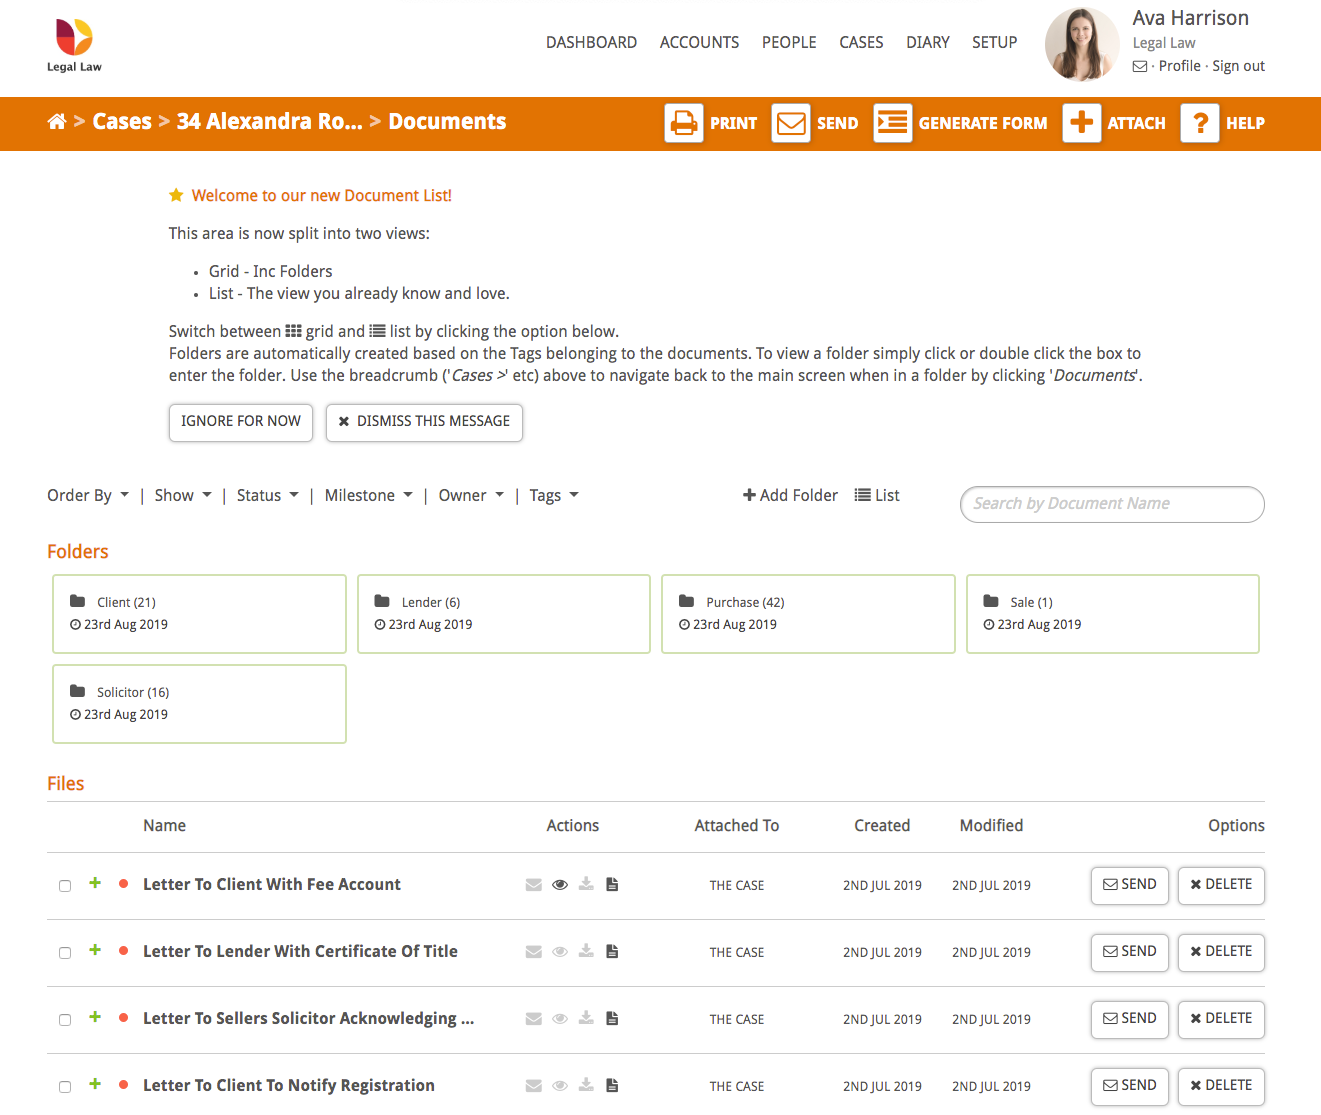
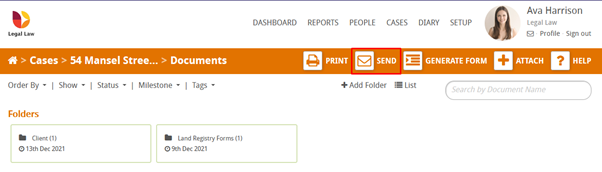
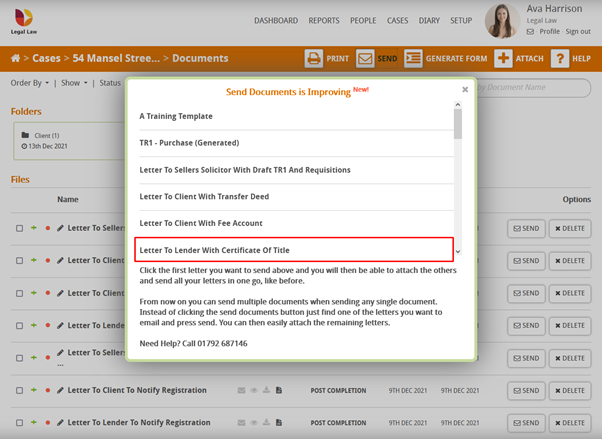
At the top of this page in the coloured banner you’ll see a Send button, click it.
A pop-up window will appear with all the documents attached to this case. Choose the document you wish to send by clicking it in the pop-up window.
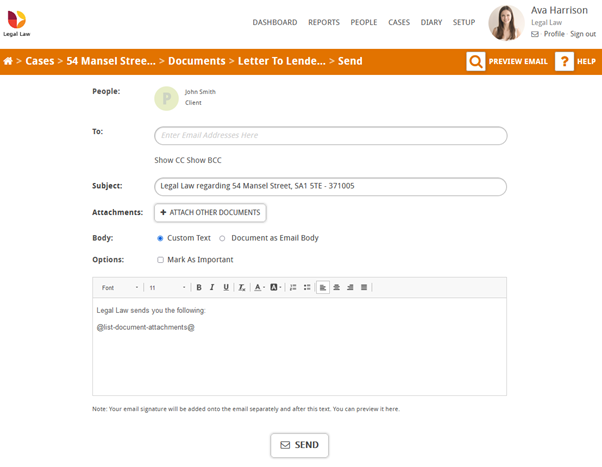
We are now on the Send page. This page contains lots of useful information we can edit before we send the email.
- People
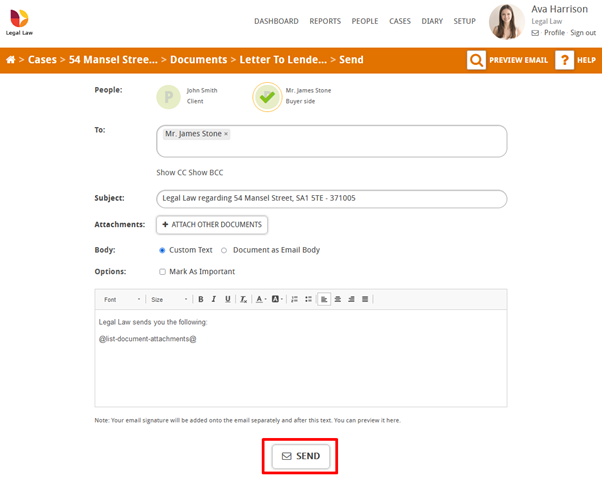
- Shows the people involved with the case who can receive this email. You can click on them to automatically add their email address to the To
- To
- Show the people who will be receiving the email. You can enter their email address in manually.
- Subject
- Shows the case name, ID, and address.
- Attachments
- Allows you to attach other documents to the email, click on it if you want to do this.
- Body
- Allows you to change the content of the email. For this guide we will remain with Custom Text. Setting it to Document as Email Body will send the entire document in text form through the email.
- Options
- You can mark the email as important. Useful for urgent documents.
- Content
- Shows the content of the email you’ll be sending. You can make changes and edit the text like you would in any text editor.
Once you are happy, you can send the email by clicking the Send button.
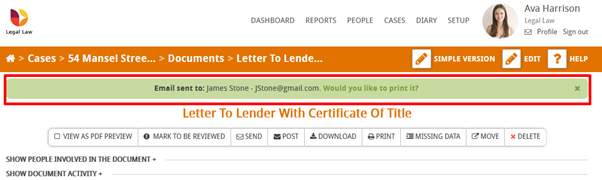
You will then be taken to the document view where you can see the document you sent. Near the top of the page there will be a green banner that notifies you that the email has been sent.
How to send documents from a milestone
Click on any milestone in the milestone view at the top of the case that has the document you want to send.
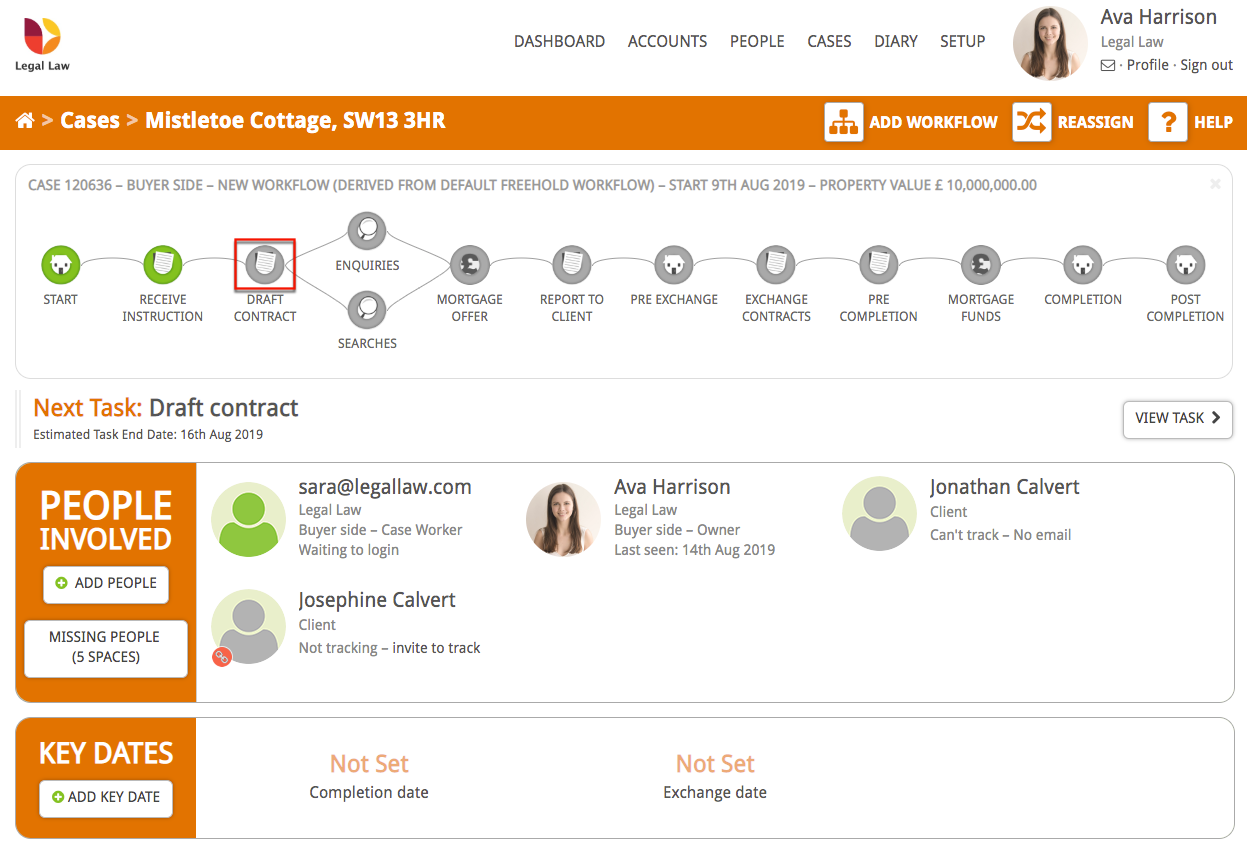
Around the middle of the milestone view you’ll see a section called Documents.
These documents are related to this specific milestone. Choose which document you want to send and click the View button.
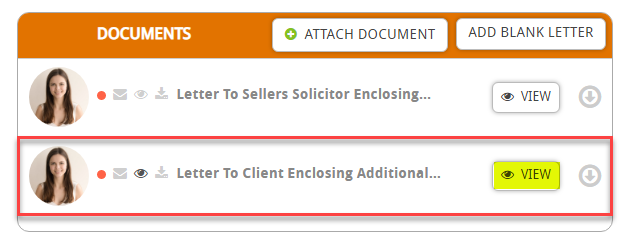
You will now see a letter view of the document, click the Send button to start the email process.
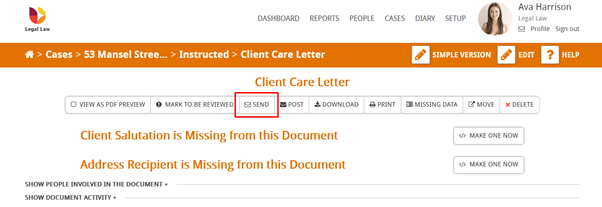
The next page should be familiar, we looked at it earlier in this guide. You can click on the People icons to auto fill their email address into the To section. Once you are ready click the Send button to send the email.
Just like earlier, a green banner will appear confirming that you have sent the document in an email to the client.