How to set a spend limit on a case
You may want to set a spend limit on a case to prevent the client’s bill from becoming unmanageable.
This guide will demonstrate how to do this, but you will need to know how to create a billable, which can be found in this guide.
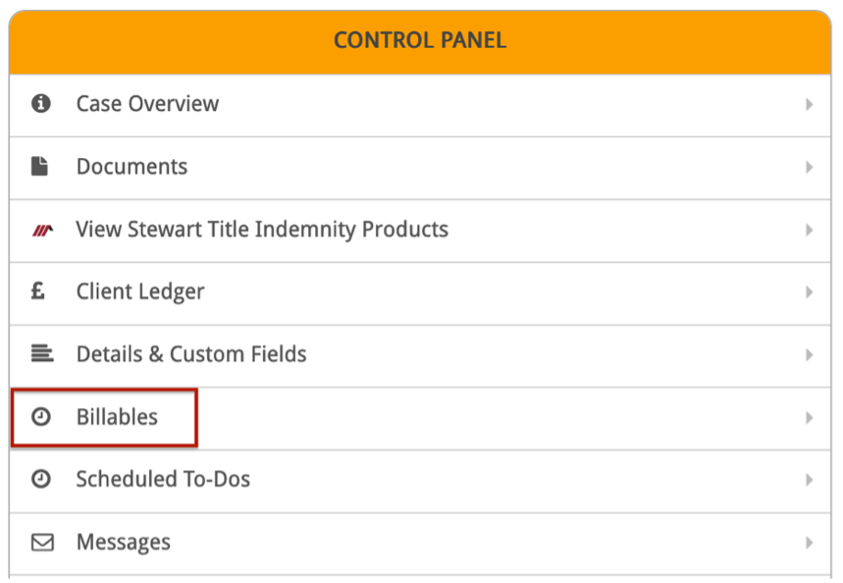
Firstly, go to the case you want to set a limit on and click Billables in the Control Panel.
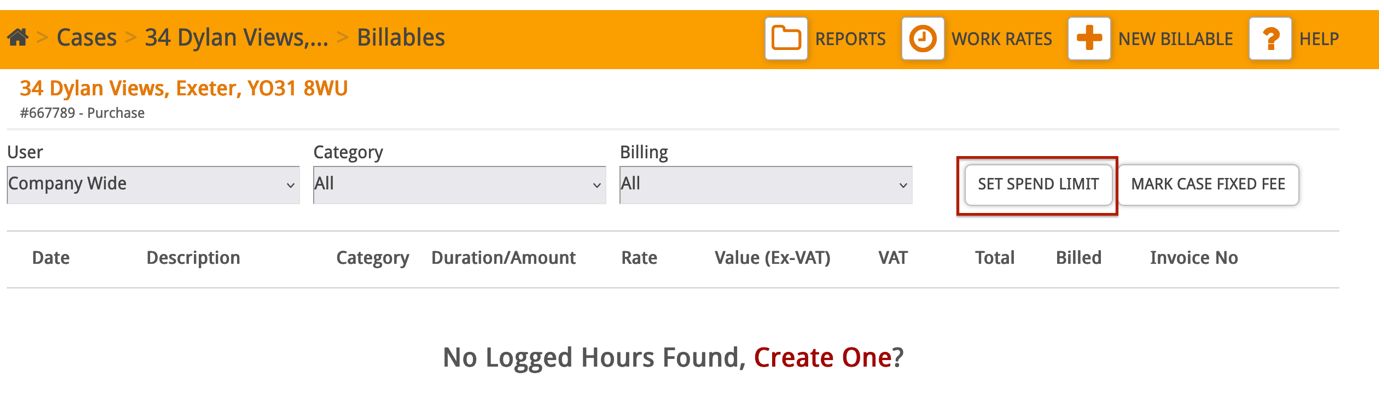
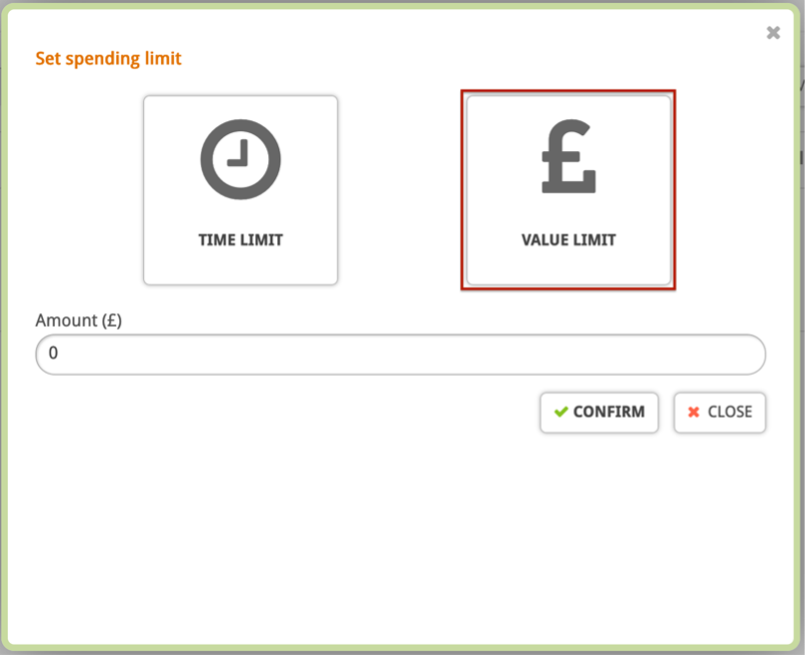
Next, click ‘Set Spend Limit’.
This will give you the option to enter a time limit or a value limit.
To set a time limit, enter the maximum number of hours and minutes you want to spend on the case and click Confirm.
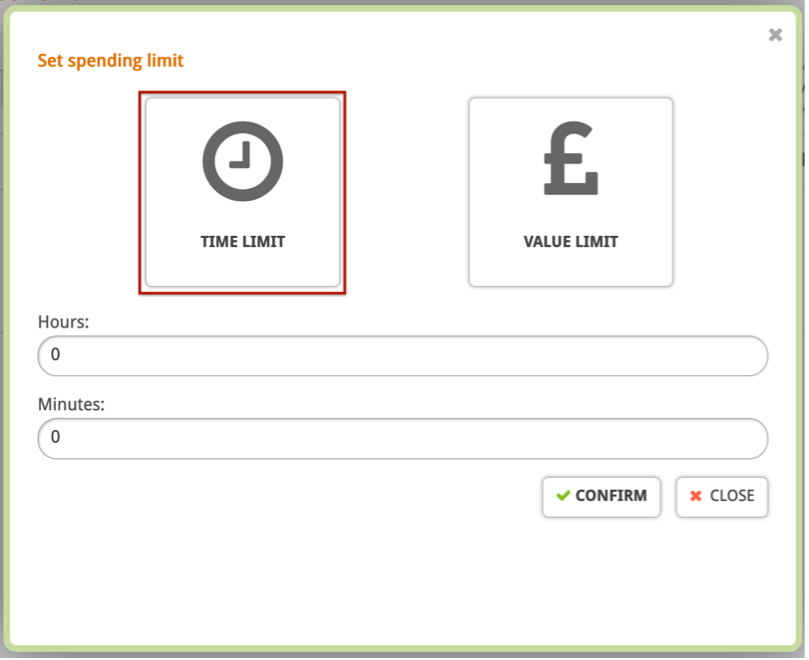
To set a value limit, enter the maximum amount you want to spend on the case and click Confirm.
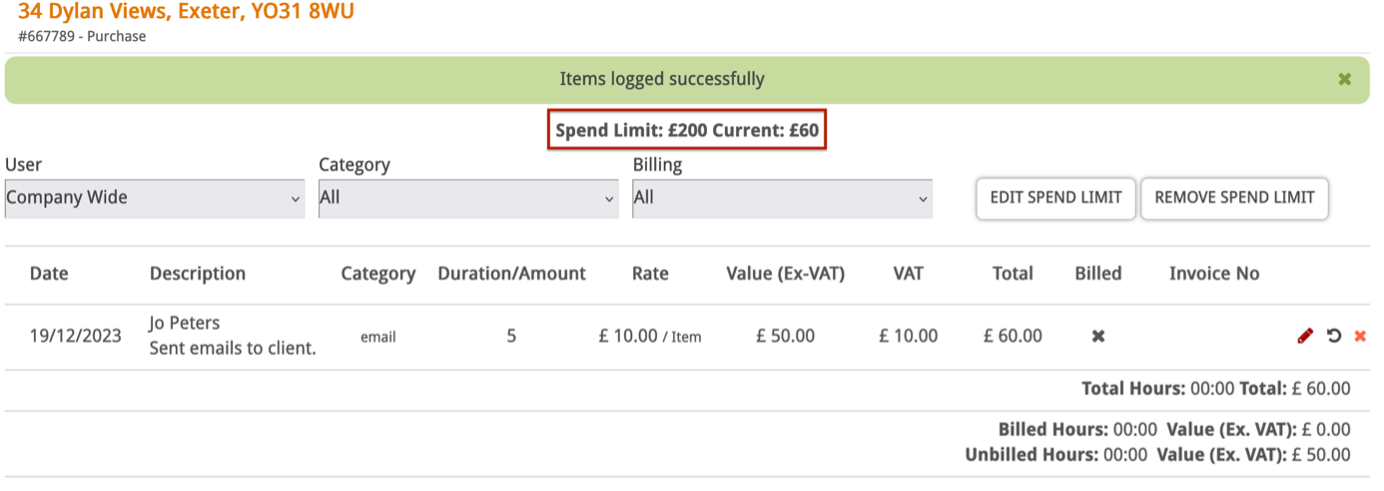
You will see a pop-up message confirming that the spend limit has been added to the case.
It will also display the limit you have set and show you how much of the limit you have currently used up.
Please note: You can always edit or remove the spend limit if needed.

Now when you log a billable, you will see the current spend on the case next to the spend limit.
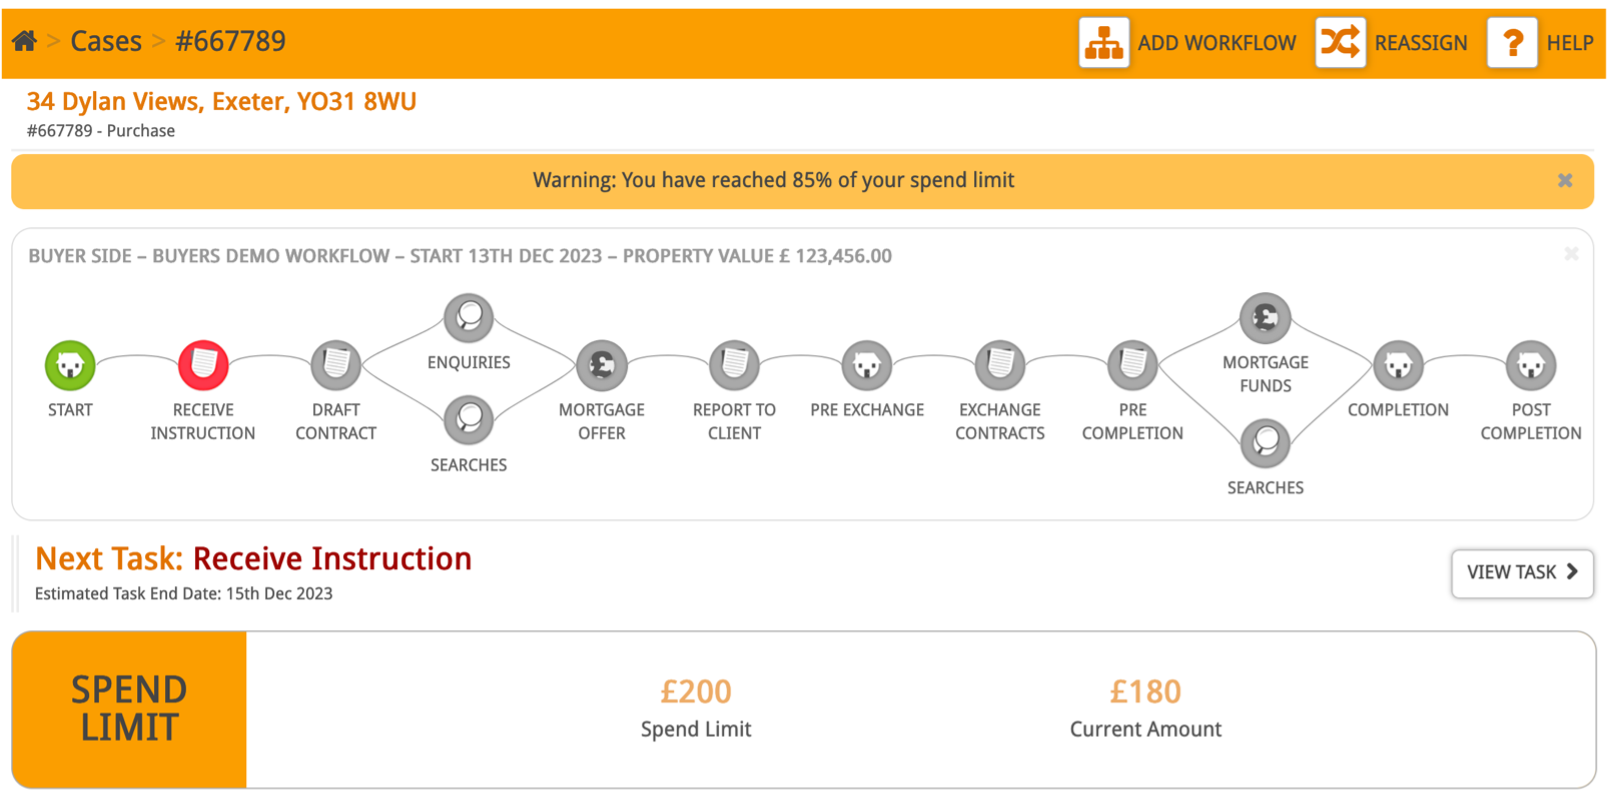
When you have reached 85% or more of your spend limit you will receive a yellow warning message.

When you have reached 100% or more of your spend limit you will receive a red warning message.

If a case has a spend limit on it, it will also be displayed on the main case screen along with the current amount used, and any warning messages.