What is Digital On-boarding?
Digital On-boarding is the term used when you ask clients to complete things like questionnaires, AML checks and Law Society forms digitally. You can do this via our missing data system which includes digital signatures and completion of forms, without having to download them or any software to do so. To find out more about the missing data process click here
This guide will explain how to automate this process, so you and your team will only need to click one button on each case for this to be sent out to the client. This guide is primarily for our case management users. If you aren’t using case management but are interested in switching over call 01792 687146 or email support@hoowla.com
What do I need to do to be able to use this?
In order to automate this process successfully, you’ll need to be using a few key areas of Hoowla. These areas are listed below and these are mandatory for the process to be successful,
- The client must be tracking the case. You can read more about that here
- You must be using documents that can be filled and/or signed digitally. This can be done via custom fields, click here to find out more about setting these up
- Auto chase must be switched on, find out how to do this here
Additionally you can use our AML service to further automate the process. However, this is optional but still a useful addition.
How do I set this up?
Step 1: Creating a cover email
When sending the documents to the client to fill out. Having a cover email with the links to fill out the documents in it is much neater than the client getting an email for each document you send. The cover email will contain the links the client needs to fill out the documents you send them, as well as any attachments that you want to send.
We recommend drafting a cover letter or email as a word document. When you’re happy with it you can import it into Hoowla to be used as a template. To find out more about this click here.
In this cover email, before we can use it we need to add some custom fields to it. Copy the text below and add it to the cover email template,
You will find the links below to complete the necessary forms for your purchase. If your name appears above these links then you are responsible for filling out these forms, you will be asked to sign them if a signature is needed. If you’re name does not appear below, but you are also a client on this case, then you only need to sign the forms after the person below has completed them. You will be asked to do this via email.
For @client-first-name@ @client-lname@ to complete and sign,
@client-autochase-outstanding-documents@
If you’re using our AML service you can include a link for the client to complete their AML check in the cover email too. To find out more about our AML service click here. If you wish to do this copy the text below and add it to the template,
You will find the links below to complete the necessary forms for your purchase. If your name appears above these links then you are responsible for filling out these forms, you will be asked to sign them if a signature is needed. If you’re name does not appear below, but you are also a client on this case, then you only need to sign the forms after the person below has completed them. You will be asked to do this via email.
For @client-first-name@ @client-lname@ to complete and sign,
@client-autochase-outstanding-documents@
[foreach entity=000000*]
The link below is for @client-first-name@ @client-lname@ to complete their AML check,
@client-aml-journey-begin-link@
[/foreach]
*You will need to replace this number with your client entity ID, click here to find out where to get this number
Step 2: Setting up the rules
For the next part we’ll need to setup the workflow rules. This requires some knowledge about how these work, you can find out more here. We’ll be using two of the rules, Send Document and Digital On-Boarding.
Go to setup in Hoowla,

Click on workflows,
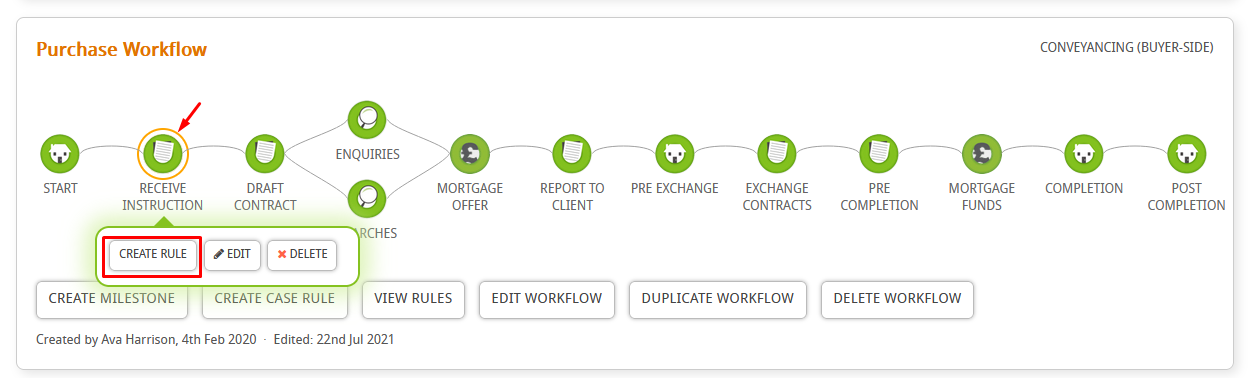
Find the workflow you want to add the rules to. You’ll be adding the rules to a specific milestone in this example so locate the one you send the client documents out on (usually called instruction or instructed). Hover over it and click on create rule,
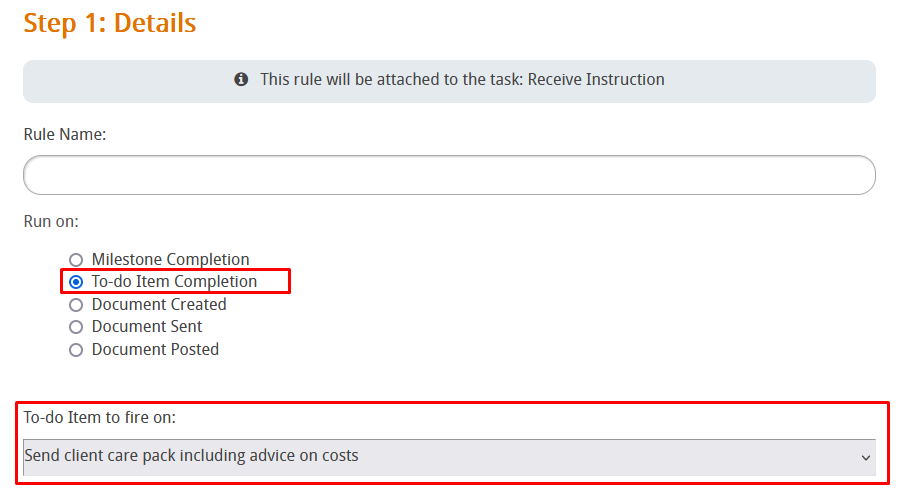
Give your rule a name along the lines of “Send client documents” or something similar,

Now we need to set the event that the rule will trigger on. If you have a to-do that you normally complete after the client documents are sent, that would be the best event to trigger this on,
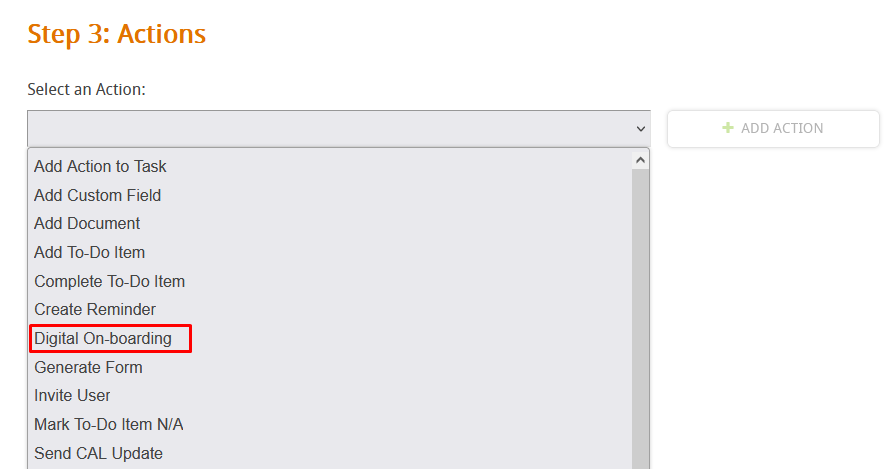
Now we need to specify the actions, this is where Send Document and Digital On-Boarding come into play. For each document that you want to send to the client, you need to add a digital on-boarding rule (one for each document),
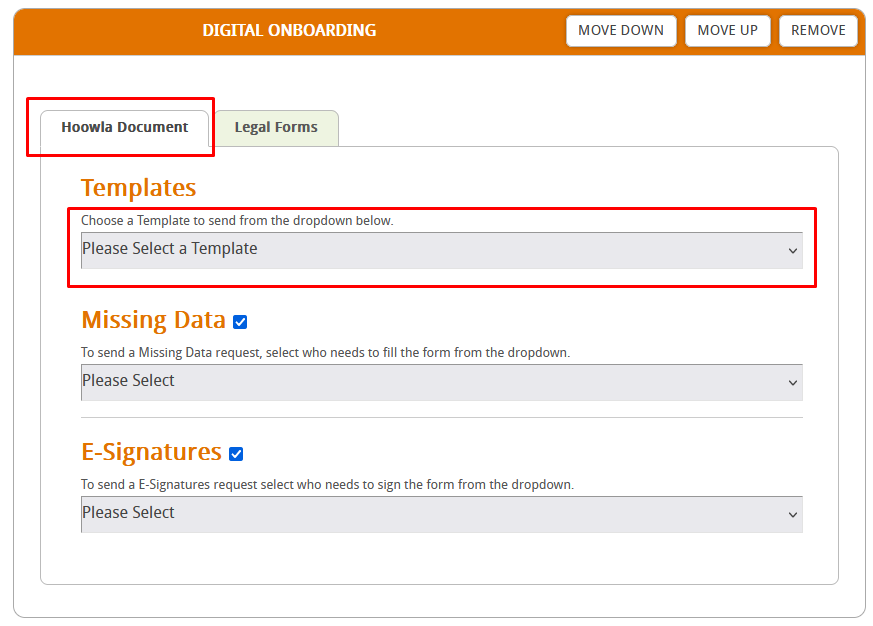
If the document is a template then select the Hoowla document tab and select the template from the drop-down list,
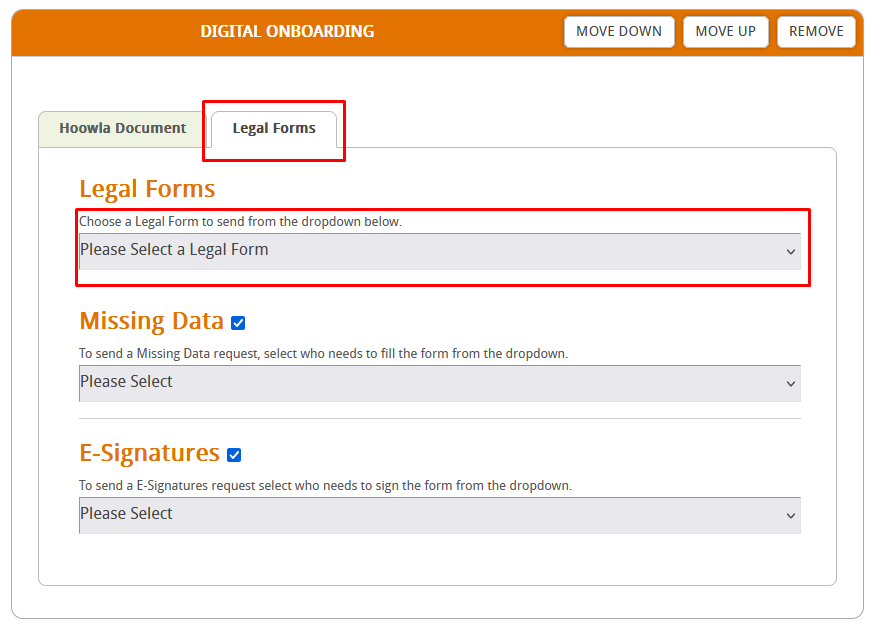
If the document is a legal form or law society form, then select the legal form tab. Then select the legal form from the drop-down list,
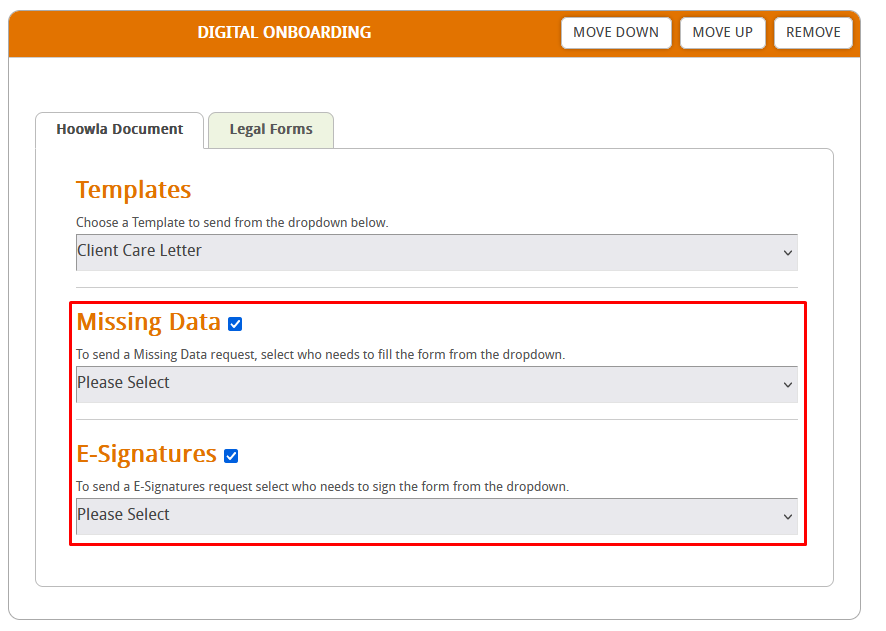
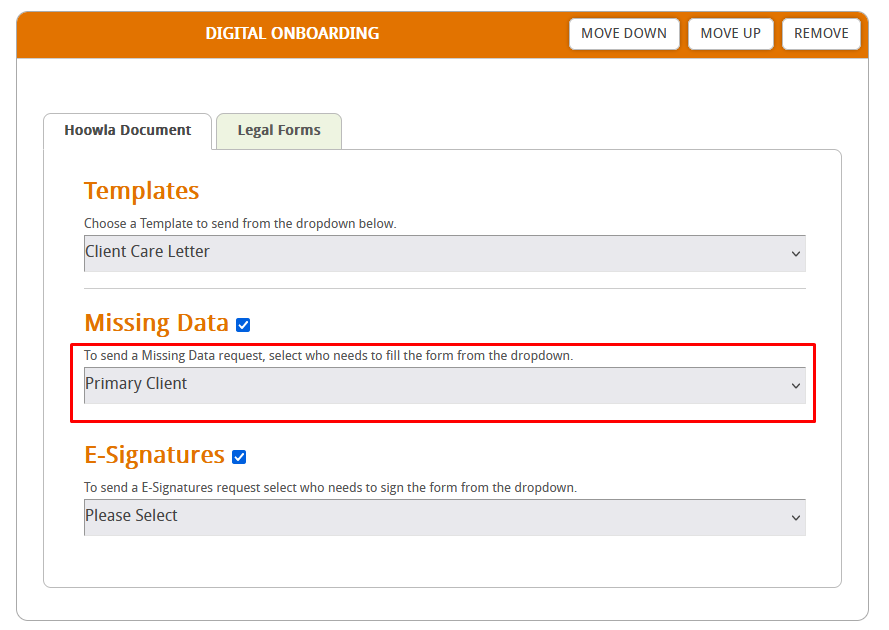
You’ll be given a choice of asking the client to complete missing data and/or and e-signature on each digital on-boarding rule,
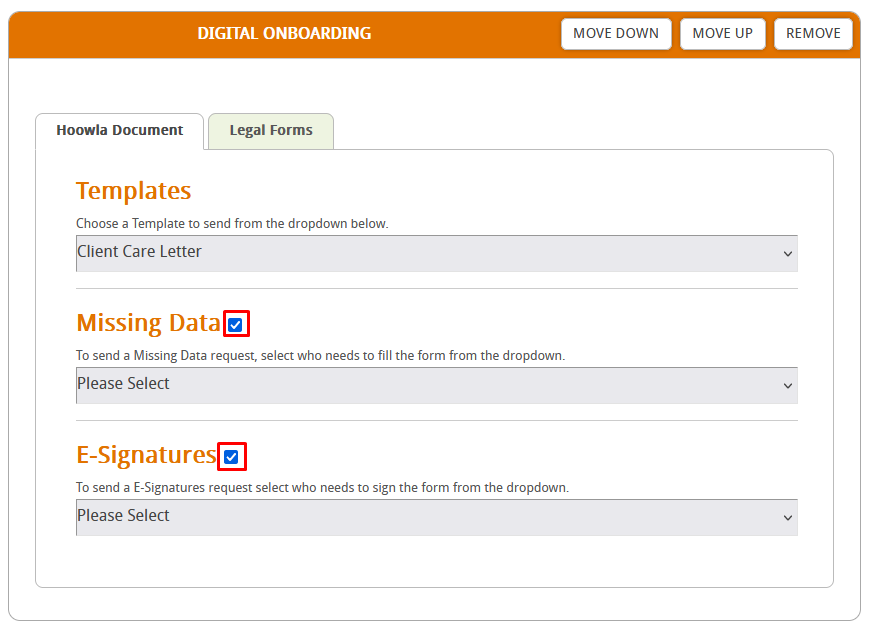
Whenever possible choose both by ticking the box,
For missing data, it is important you pick primary client in the drop-down menu,
For e-signatures it’s important that you pick client in the drop-down menu,

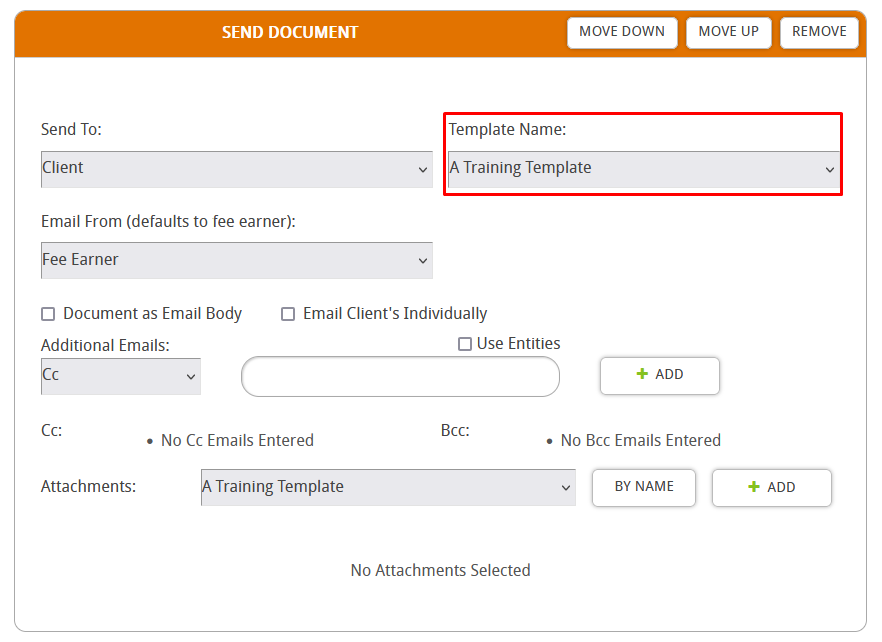
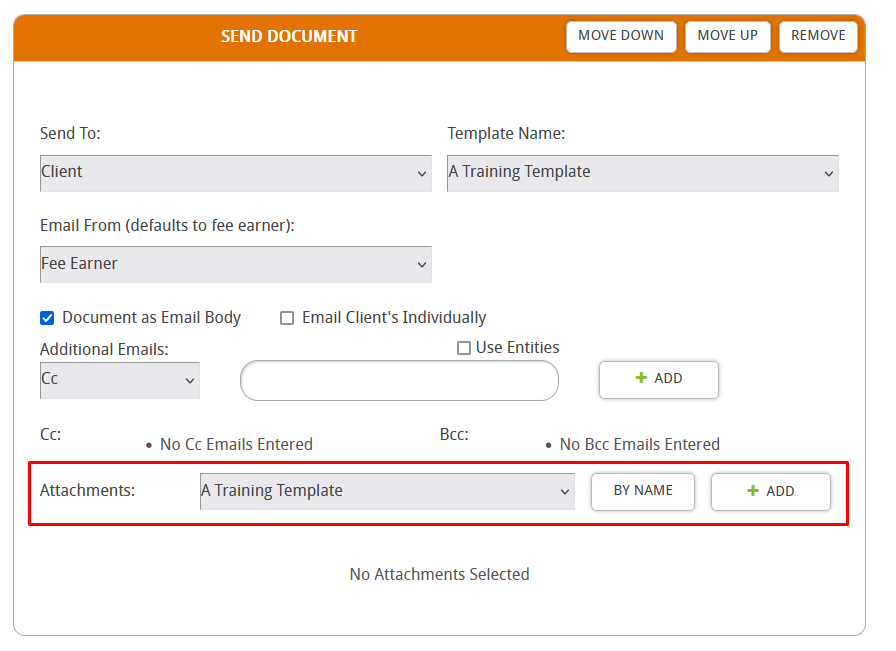
Once you’ve added in the digital on-boarding rules a single send document rule is needed to complete this step. Add in the rule and make sure the send to drop-down menu is set to client,

For the template name, you’ll want to select the cover email template we made in step 1,
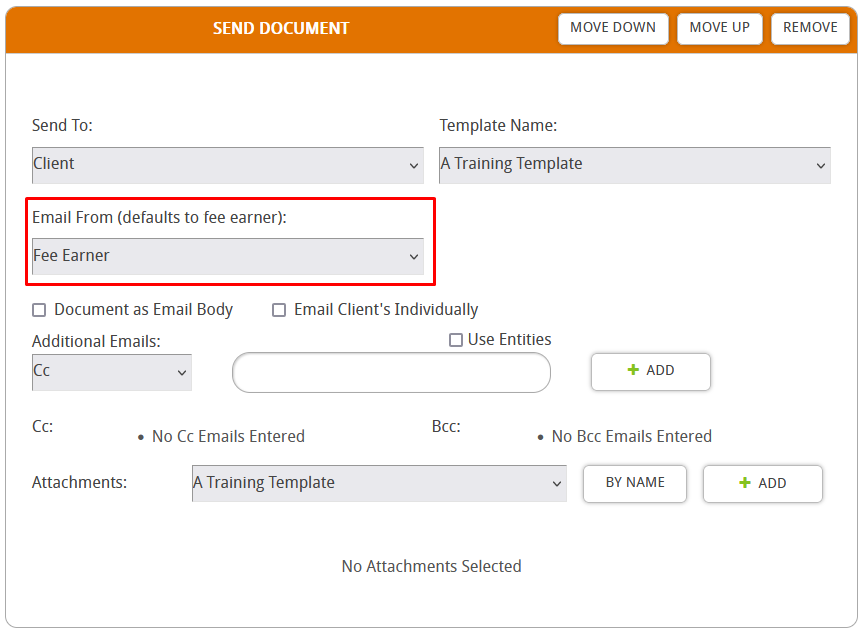
Email from can be from whoever you like,
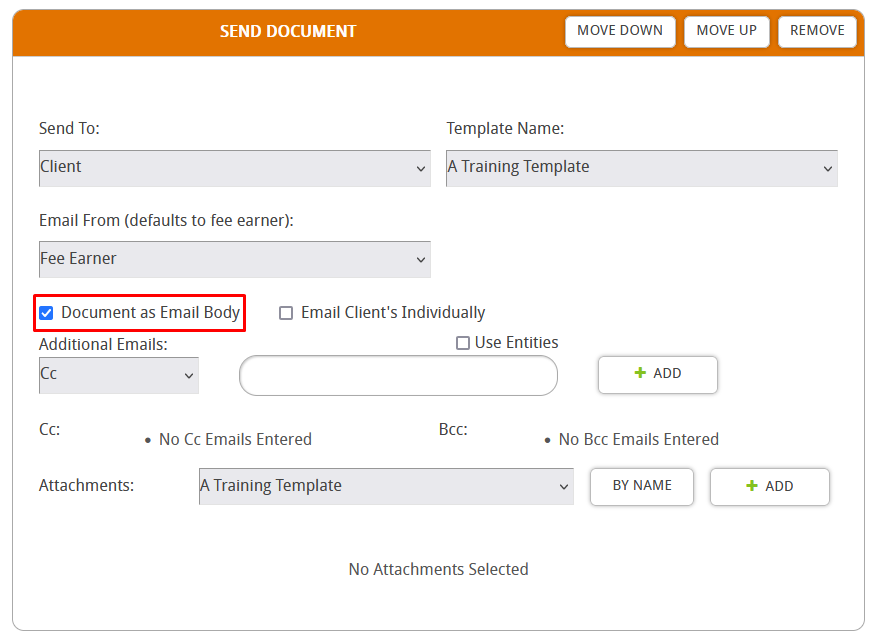
It’s important to tick document as email body this will make sure that the cover email is sent as an email and not a document,
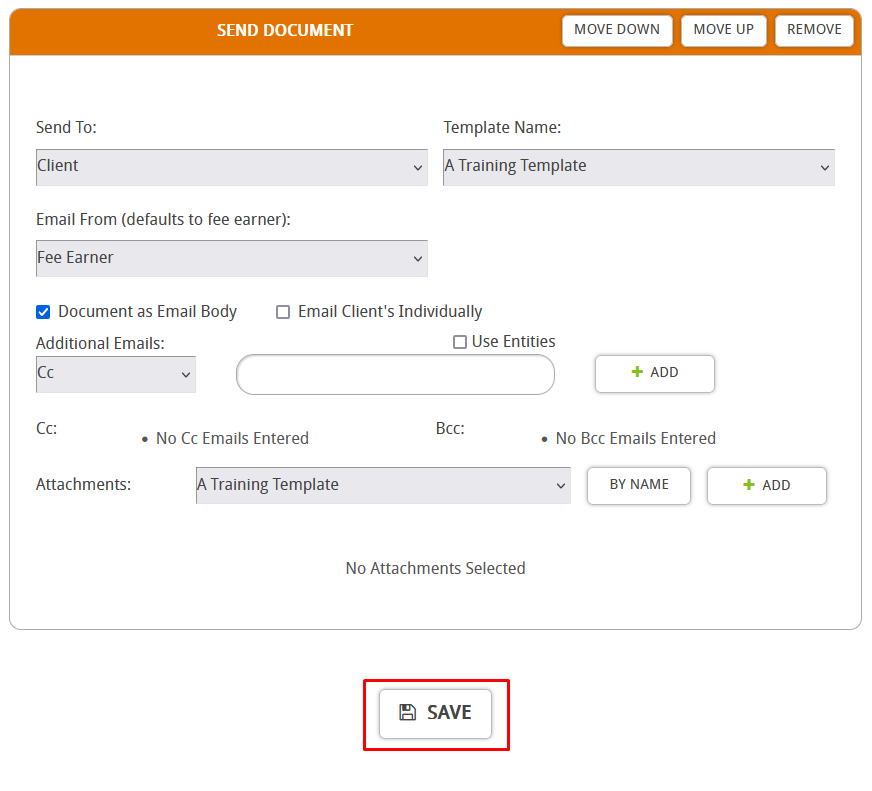
You can add in any attachments that you need by selecting them from the attachments drop-down menu. These will be things like your terms and conditions or any other documents that the client needs to read but not fill in or sign,
When you’re done press save,
Step 3: Turning on Auto Chase
For this process to work, we need Auto Chase to be on and active. To learn about how to do this click here.
Step 4: Turning off send missing data requests as emails
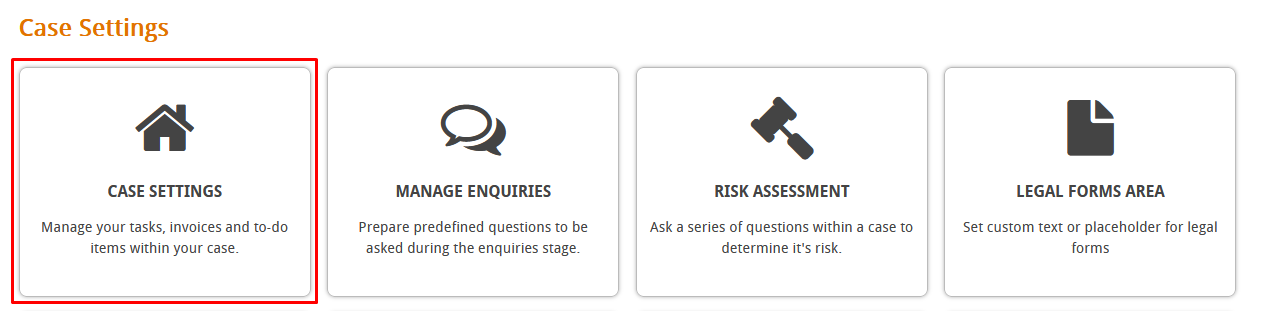
This last step is simple but crucial to the entire process working correctly. It’s important that you have done all other steps before doing this one. For this to be done we need to go to setup,
Then click on case settings,
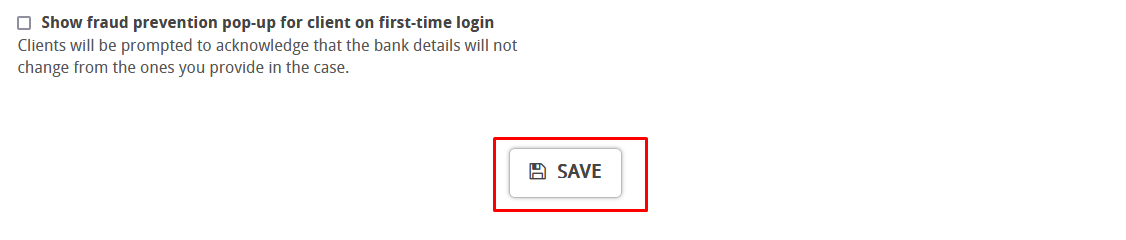
Under the communication section, turn of this tick box,
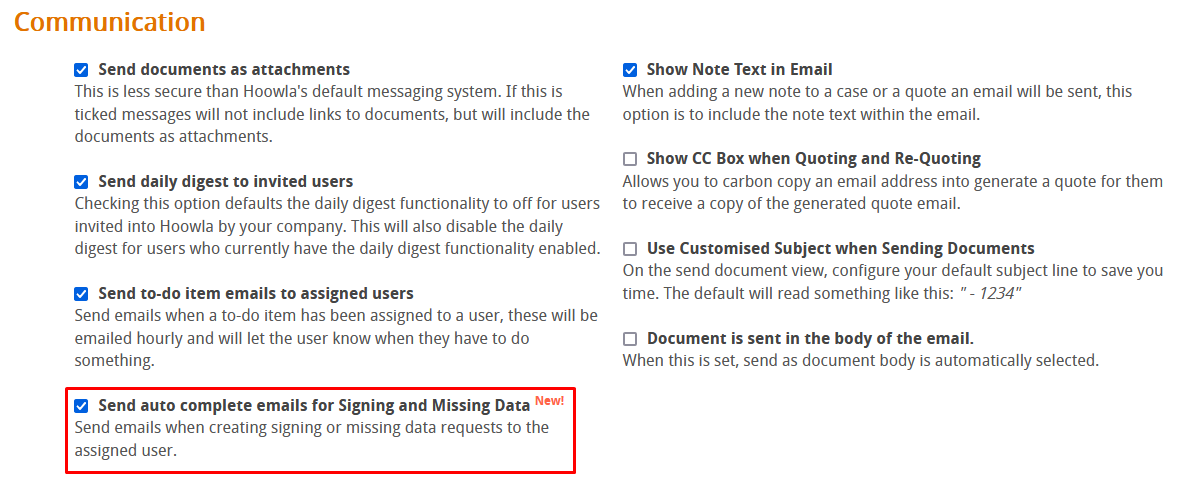
Now scroll down to the bottom and press save,
Once that is done the entire process is ready to be used. Make sure that the client is tracking the case and make sure you mark the to-do you selected in step 2 as done to kick-start the process.