This guide will explain what a custom field is, how we use them in Hoowla and how to store information in them.
You may have opened a template in a case and noticed the custom field, but not known what they are called, what they do or how they get into the document. This guide will help to explain.
What is a custom field?
A custom field allows you to enter information in one location and for it to be displayed in another.
Where to find custom fields
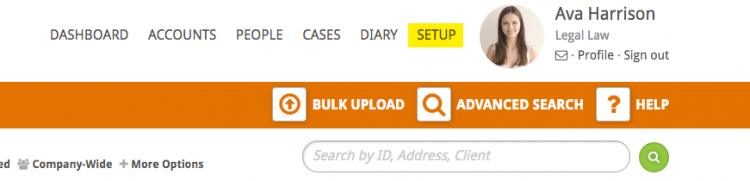
Click the Setup link next to your name.
Select the Custom Fields box.

This will show you a list of custom fields that have already been created. You will see the headers Title, Document Placeholder, Created by, Type and Options. We will look further into what each of these sections mean below.
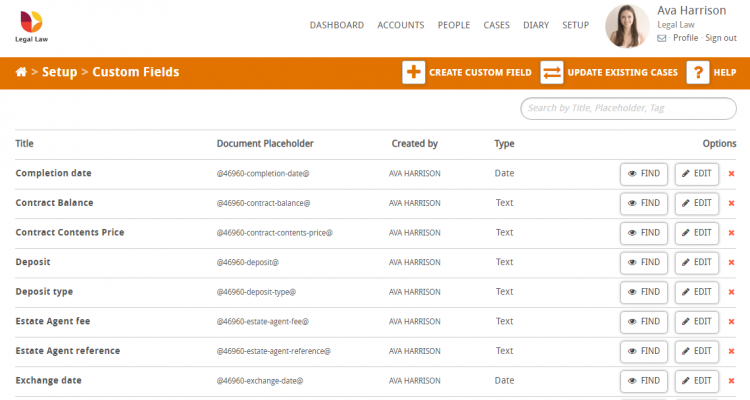
Title – this is the name that will be displayed in Details and Custom fields within the Case Overview of the case.
Document Placeholder – the placeholder is what is added to the template in order to pull the information into a document.
Created by – shows you who created the custom field.
Type – this displays what type the custom field is:
- Text – a smaller area of text, anything from one word to a short sentence.
- Textarea – a larger area of text, such as a paragraph.
- Date – this will give the option to select a date.
- Checkbox – this will provide a tick box within the document.
Options
In options you will find the two buttons below
The FIND button will bring up a list of all templates that are currently using that particular custom field and allow you to view them (as can be seen below).

The EDIT button will allow you to edit the custom field.
Please note: when you edit a custom field the Document Placeholder does not change. If you require to change the document placeholder you may need to create a new custom field. These guides may be useful:
How to Enter Information into Custom Fields
There are two main areas in which you can enter information into a custom field. These are within the case and within a document. The section below will look into this in more detail.
Entering Information to a Custom fields within a Case
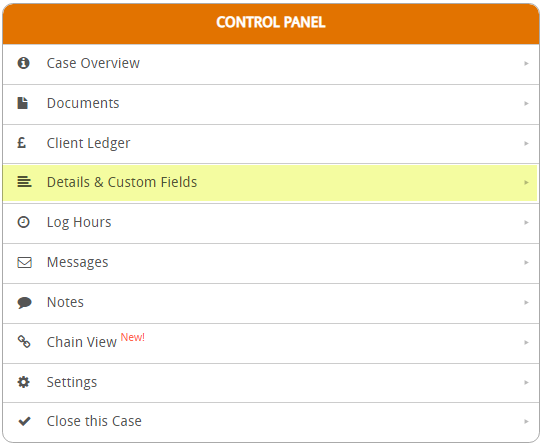
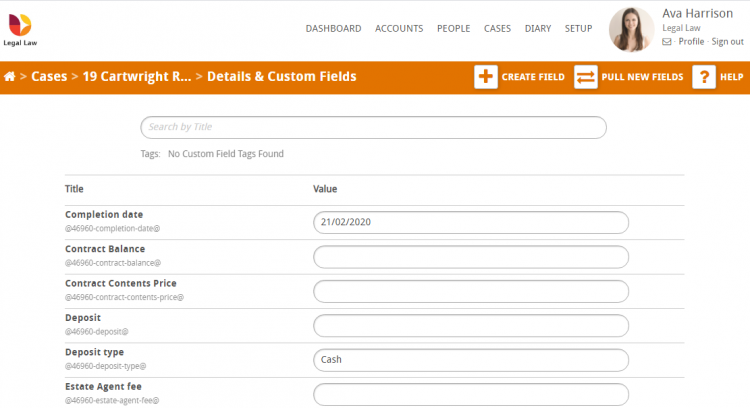
When you are in a case you will be able to view the custom fields within the Control Panel by selecting Details & Custom fields, as indicated below.
This will produce a list of current custom fields attached to the case and the information held in them as can be seen below. Once information has been entered here it will be generated where ever the document placeholder is located in a document and if this needs to be amended you only have to amend it here for it to change across the case.
Custom fields within a document
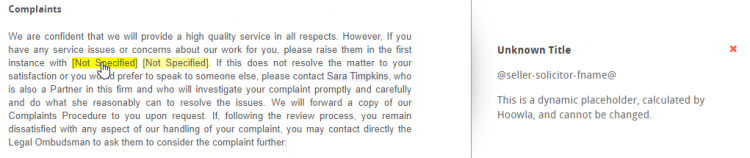
If a custom field is blank it will show highlighted in Yellow stating [Not Specified] in a document (as can be seen below).
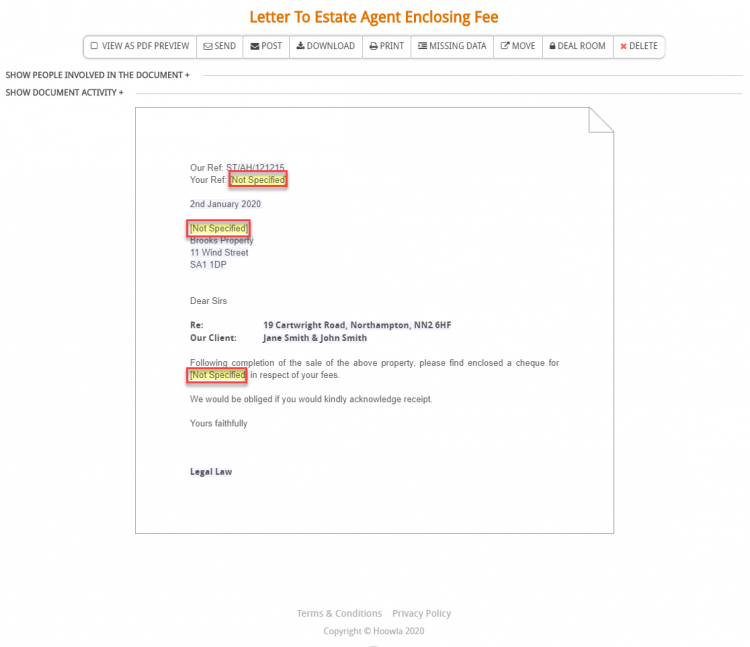
If you click on these one of FOUR options will be presented, depending on the custom field type:
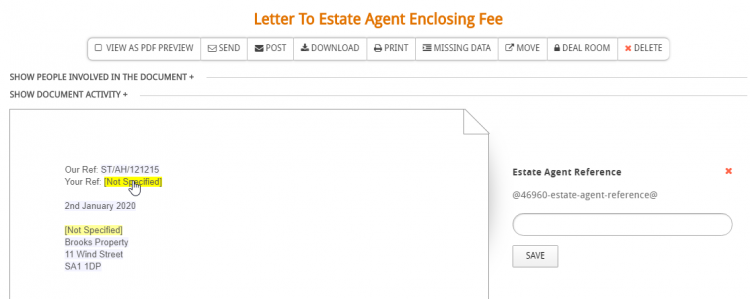
1 – A box will appear for you to enter the information into (as can be seen below). This is the same as entering information in the Details and Custom Field section of the case and when information has been added here it will be listed in the Details and Custom fields for future reference.
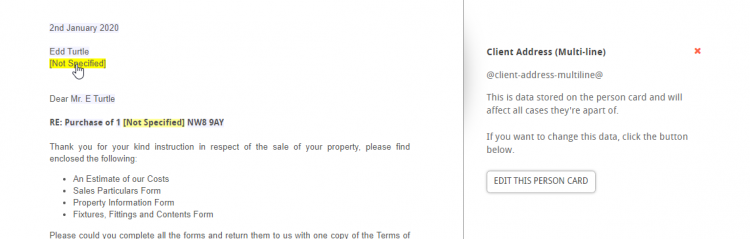
2 – A notice will appear stating that ‘This is data stored on the person card and will affect all cases they’re a part of’ and present you with an Edit This Person Card button for you to update the information as required (as can be seen below).
3 – You will need to fill the correct document entity with a person card before you can change this data.
Please Note: to fix this you will need to drag a person into the relevant circle within the case. A guide on how to do this can be found HERE.

4 – This is a dynamic placeholder, calculated by Hoowla, and cannot be changed (as can be seen below).
Please Note: to amend this place holder you will need add the entity to the document. A guide on how to do this can be found HERE